

Mozart
-
Posts
321 -
Joined
-
Last visited
-
Days Won
137
Content Type
Profiles
Forums
Events
Downloads
Posts posted by Mozart
-
-
So I decided to try a little experiment this afternoon with cutting some tape on my Silhouette: pressed the power button....nothing. Repeat, same result. Check connections.....nope....dead as a dodo. Fuse? Checked, replaced twice.....still nada. I took the end section off to look for broken wires but quickly put it back on again, circuit boards and lord knows what else but all beyond my ken. So I’m looking at forking out £350 for a Cameo 4 I guess. I’ve emailed a firm in the UK that sells cutters but I don’t hold out a lot of hope. Can’t go too long without one, jobs to do!
-
 1
1
-
-
I've done the nose of my Lightning this afternoon so recorded the masking sequence that I followed. This isn't the only way of doing it, there are shortcuts when transferring the mask to the transfer piece for instance but this is how I did this particular one today:
Firstly I prepared an "empty" mask, a negative one if you like just to get its position right and to spray the background white areas ready for the roundel and the chequerboard:

Then I took my transfer piece and placed it over the mask, carefully lifting it from its backing sheet onto the transfer piece. This is fiddly and needs care:
The transfer piece/mask was placed over the "negative one", making sure all lined up as well as possible. Clear Frisket film makes this slightly easier but in this case I found the 6mm squares didn't stick well enough to the Frisket so moved out of alignment. Once in position the roundel centre mask and squares to be sprayed red were removed:
When dry, the roundel centre mask was replaced using the register marks for accuracy. The mask for the white middle ring doesn't need to be touched. The outer ring mask is removed, this is the blue area. The chequerboards can simply be covered up with tape, no need to replace the squares individually.
Then the blue is sprayed:
When dry, all masks removed for the final reveal! I've never yet done chequerboards that don't need a bit of touching up:
Hope this helps a little.
Max
-
 8
8
-
-
1 hour ago, machine_marty said:
Hi everyone, great to see a group dedicated to mask cutting. I've had a Portrait for about four years now so have quite a few files to upload (when I get a chance) - some generic, some quite specific. I really enjoy this aspect of modelling and always look for ways to utilise the cutter in order to improve my builds.
Hoping to share my limited knowledge and pick up a few tips along the way.
Martin
My feelings exactly Martin, use of the Silhouette is an integral part of the build process now......even if it doesn't need to be! Welcome to the Forum. 👋
-
2
-
-
11 hours ago, Kevin Futter said:
Hi everyone,
Can I just ask that you please include a screenshot with your mask designs when you upload them? It makes it much easier to tell at a glance what's what, versus the sea of default thumbnails.
Thanks!
Kev
Do you want us to do this retrospectively Kev?
Max
-
19 hours ago, AverageModeler said:
What Yellow did you use?
How did you do the propeller?
I use MRP paints, the yellow is their “Marking Yellow”, nominally the yellow used on the outer rings of WW2 RAF roundels. The props are thin metal photo etch sheets from a company called “Prop blur”. http://www.propblur.com/store/c1/PropBlur.comMain
Max-
2
-
-
Agreed with Wolfgang’s blade settings, you really don’t need much force nor depth of blade to cut through the Oramask.
Max -
On 8/7/2020 at 5:25 AM, Giuseppe Brivio said:
Hello everybody, I'm from Italy, building all scales but shifting to larger ones as eyesight weakens while aging. Mainly aeroplanes but with occasional ground, space and water vehicles. Recently purchase a cutting plotter and starting to explore self building paint masks. Thank you for accepting me.
Ciao
Giuseppe
Happens to all us “older” people Giuseppe! The whole process of designing and making your own masks is great fun and hugely extends the range of models to make. Enjoy the forum.
Max-
1
-
-
Hiya Gaz, glad you found us all!
Max-
1
-
-
2 hours ago, AverageModeler said:
Thanks for that, looks like i need to upgrade my software. 👍
Yes, most definitely worth the upgrade to Designer Edition, you can drag an image into the design screen and "work on top" of it to create your mask shapes. But don't save your work with the image still "underneath" your drawn cut lines because (in my experience) it will lock the two layers of image and lines together.
Max
-
Hello Michel, good to see you here. Do you already have experience of cutting and using your own masks?
-
Good to see you here Sepp.
-
Agreed, that’s all looking very sharp indeed! Such success will be a great encouragement to do more I’m sure. Well done Chris. 👋
-
Thanks Mike, proves to me that the Designer edition does everything I need!
-
2
-
-
Good to see another West countryman here!
-
Hello Chris. I mostly use the same as the masking material, Oramask 810 in my case, but a clear Frisket-type has advantages because you can position the mask more easily due to its clarity.
Max
-
2
-
-
Just finished cutting the Red Top fins from 10 thou plastic card, here's the successful settings I used:
Fins just snap easily out of the plastic sheet.
-
2
-
 2
2
-
-
Thanks Kev and Brian. Start with 10 thou for some practice and experiment with the settings, ie speed, force and number of passes. You obviously won’t need a force of 33 so start with something like 15 and perhaps 2 passes. Speed isn’t that critical I’ve found. You may have seen I need to cut fins for the red top missiles from 10 thou, I’ve used it before but can’t recall the settings! May well do that tomorrow after my golf in which case I’ll report back.
-
2
-
-
A small addition to the earlier "tutorial", this time cutting plastic instead of vinyl. For my Lightning I needed to make two ventral fins from 30 thou plastic card. Accurate scale drawings were part of Echelon's instructions, so I scanned these:
....saved the scan to my photo album then dragged the image onto the Silhouette screen:
the drawing again being scaled to a workable size. Then the fin was traced, the only slightly tricky bit (not really!) was the curve. When you click on the drawing tool icon, one of the options given is to draw a curve. Select this, click your mouse at the starting point then makes series of clicks following the curve till the end point. "Sign off" with a double click, then group with all the other elements.
When you've finished the design and saved it, click the "SEND" button, top right and a drop down menu gives you a choice of materials - on my machine plastic card isn't one of them! So you have to tailor the cutting speed, the number of passes and the force. The maximum force is 33, I chose this, 10 passes and speed 5.
The standard blade will cut 10 thou card but for anything thicker you need a heavy duty blade, I set it by eye so that a reasonable amount of blade was showing! Not very scientific I admit. When you load the cut mat and plastic sheet, the latter tends to move about because of the force and reduced "stickiness" of smooth plastic, so I just hold it lightly in place whilst cutting. The blade won't cut all the way through the plastic, but scores deeply enough that with a little bending the fin pops out.
Then a sand, clean up and hey presto......! 😁
Wonderful machines these Silhouette cutters!
-
4
-
1
-
-
See new section "cutting plastic"
-
1
-
-
Thanks Brian, I tried to write it from my point of view when I was a beginner, I hope to works for people in that position!
-
2
-
-
1 hour ago, Kevin Futter said:
I reckon this might constitute our first tutorial, Max!
Kev
Bit of a grand name for it Kev, but I hope it's helpful as a starting point for new users. It still forms the basis for all that I do with my cutter. I thought I might add a screen shot of the main tools that I've been referring to, without getting too technical - cos I get lost very quickly with techie-lingo!
-
2
-
-
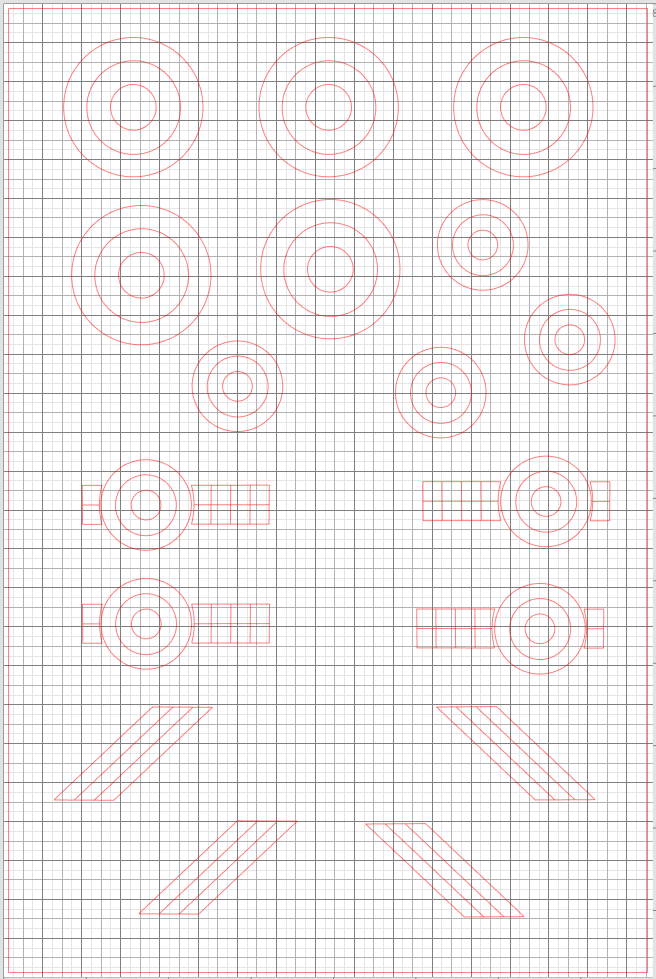
So these are the masks that I drew for the Lightning, all in 1/32 scale. Firstly it's worth saying that I draw everything with the page really enlarged so that the positions, points and edges of my lines are as precise as possible. You can reduce the page size to check every now and again. My starting point was the sheet of markings provided with the kit, I measured the diameters of each part of the largest roundels then selected the circle tool from the left hand selection box - it doesn't actually draw circles per se though. The latest update to the software includes a centring cross to everything you draw, it's so useful for alignment purposes. See below for the main tools in this article:
I drew the inner circle, noting the distances shown on the x and y axes as I drew it, making sure they were the same! I changed to the "edit" or "move" tool at the top of the left hand selection and dragged the circle so it was centred on a grid. Then I copied it and pasted another circle, dragged it out to the required size and centred it over the first one. I then repeated this operation for the largest circle. To group these three, press and hold "Cmd" + Shift then click on the "Group" icon on the top bar. The roundel should now move as a whole design. To do the smaller roundels it's simply a matter of copying the first one then scaling down to the required size.
For the nose art I was lucky that the roundel was the same size as the underwing one. The original transfer sheet had a chequer design which again I measured; 6mm squares. I reset the grid settings* to that size which helped with line length. Once I'd drawn the first 24mm horizontal I copied and pasted two more, then dragged and spaced 6mm apart vertically, lined up on the first one. Next was a 12mm vertical, again copied and pasted three times then dragged to position which gave me the main longer chequerboard design. Again, group this as a unit. One little complication is that the edge next to the roundel has a slight curve on it to "fit with" the curve of the roundel, though spaced from it. To achieve this I moved the correct roundel into approximately the right place, then copied and enlarged another roundel so that part of its circumference looked right over the "mating" edge of the chequers. Then I used the eraser tool to get rid of the rest of the large circle and cleaned up the other edges. Note, if you erase any part of a grouped design, it automatically ungroups the whole lot, so you have to go over it all and re-group.
*Note: you can select "Snap to grid" but I haven't found this at all useful, I prefer the control I get with "freehand" drawing.
Once this was done I copied the chequer, went up to "Object" on the top menu bar, selected "mirror" + "horizontal" so I had both sides. One of course was too long so I ungrouped this, reduced the size of the horizontals (either with the eraser or by grabbing the handles and moving) and cut out (Cmd + X) the unwanted verticals.
That just left the fin flash colours, a couple of words of caution in this little bit!
To get the angle right so the flash aligned with the front edge of the fin, I scanned a drawing from the instructions and saved it to my photos. With the Designer edition (but not the basic one) you can then simply drag the picture onto your drawing screen; it effectively "sits" on top off what you've already drawn. You'll undoubtedly need to reduce it to a workable size and then before you can draw "on top of it", ie trace it, you go to the top bar where, next to the Ungroup icon (see above) are some more little juxtaposed squares. Click on the one that has Alt text saying "Send to the back", this brings your drawing to the front so you can draw lines over the picture! Clever stuff!! 😃
I drew a line about a third of the length of the front edge of the fin, then a horizontal about the width of the three stripes, all approximate because I have no set dimensions so it's Mk 1 eyeball stuff. I copied the horizontal line and dragged it to the bottom, then copied the sloping first line thrice and spaced them according. Click on all and group. As before, once you've got one, copy, go to "Object - mirror - horizontal" done!
Word of warning through bitter experience!
DO NOT HIT THE "Save" BUTTON ON YOUR DRAWING WHILST THE PICTURE IS UNDERNEATH IT! If you do, you will have saved the whole lot together and I don't think you can "unstick" it? So do your design, move the picture well out of the way, then hit Save.
And that was that really. Just about as basic as you can get, but it works.
-
6
-
1
-
-
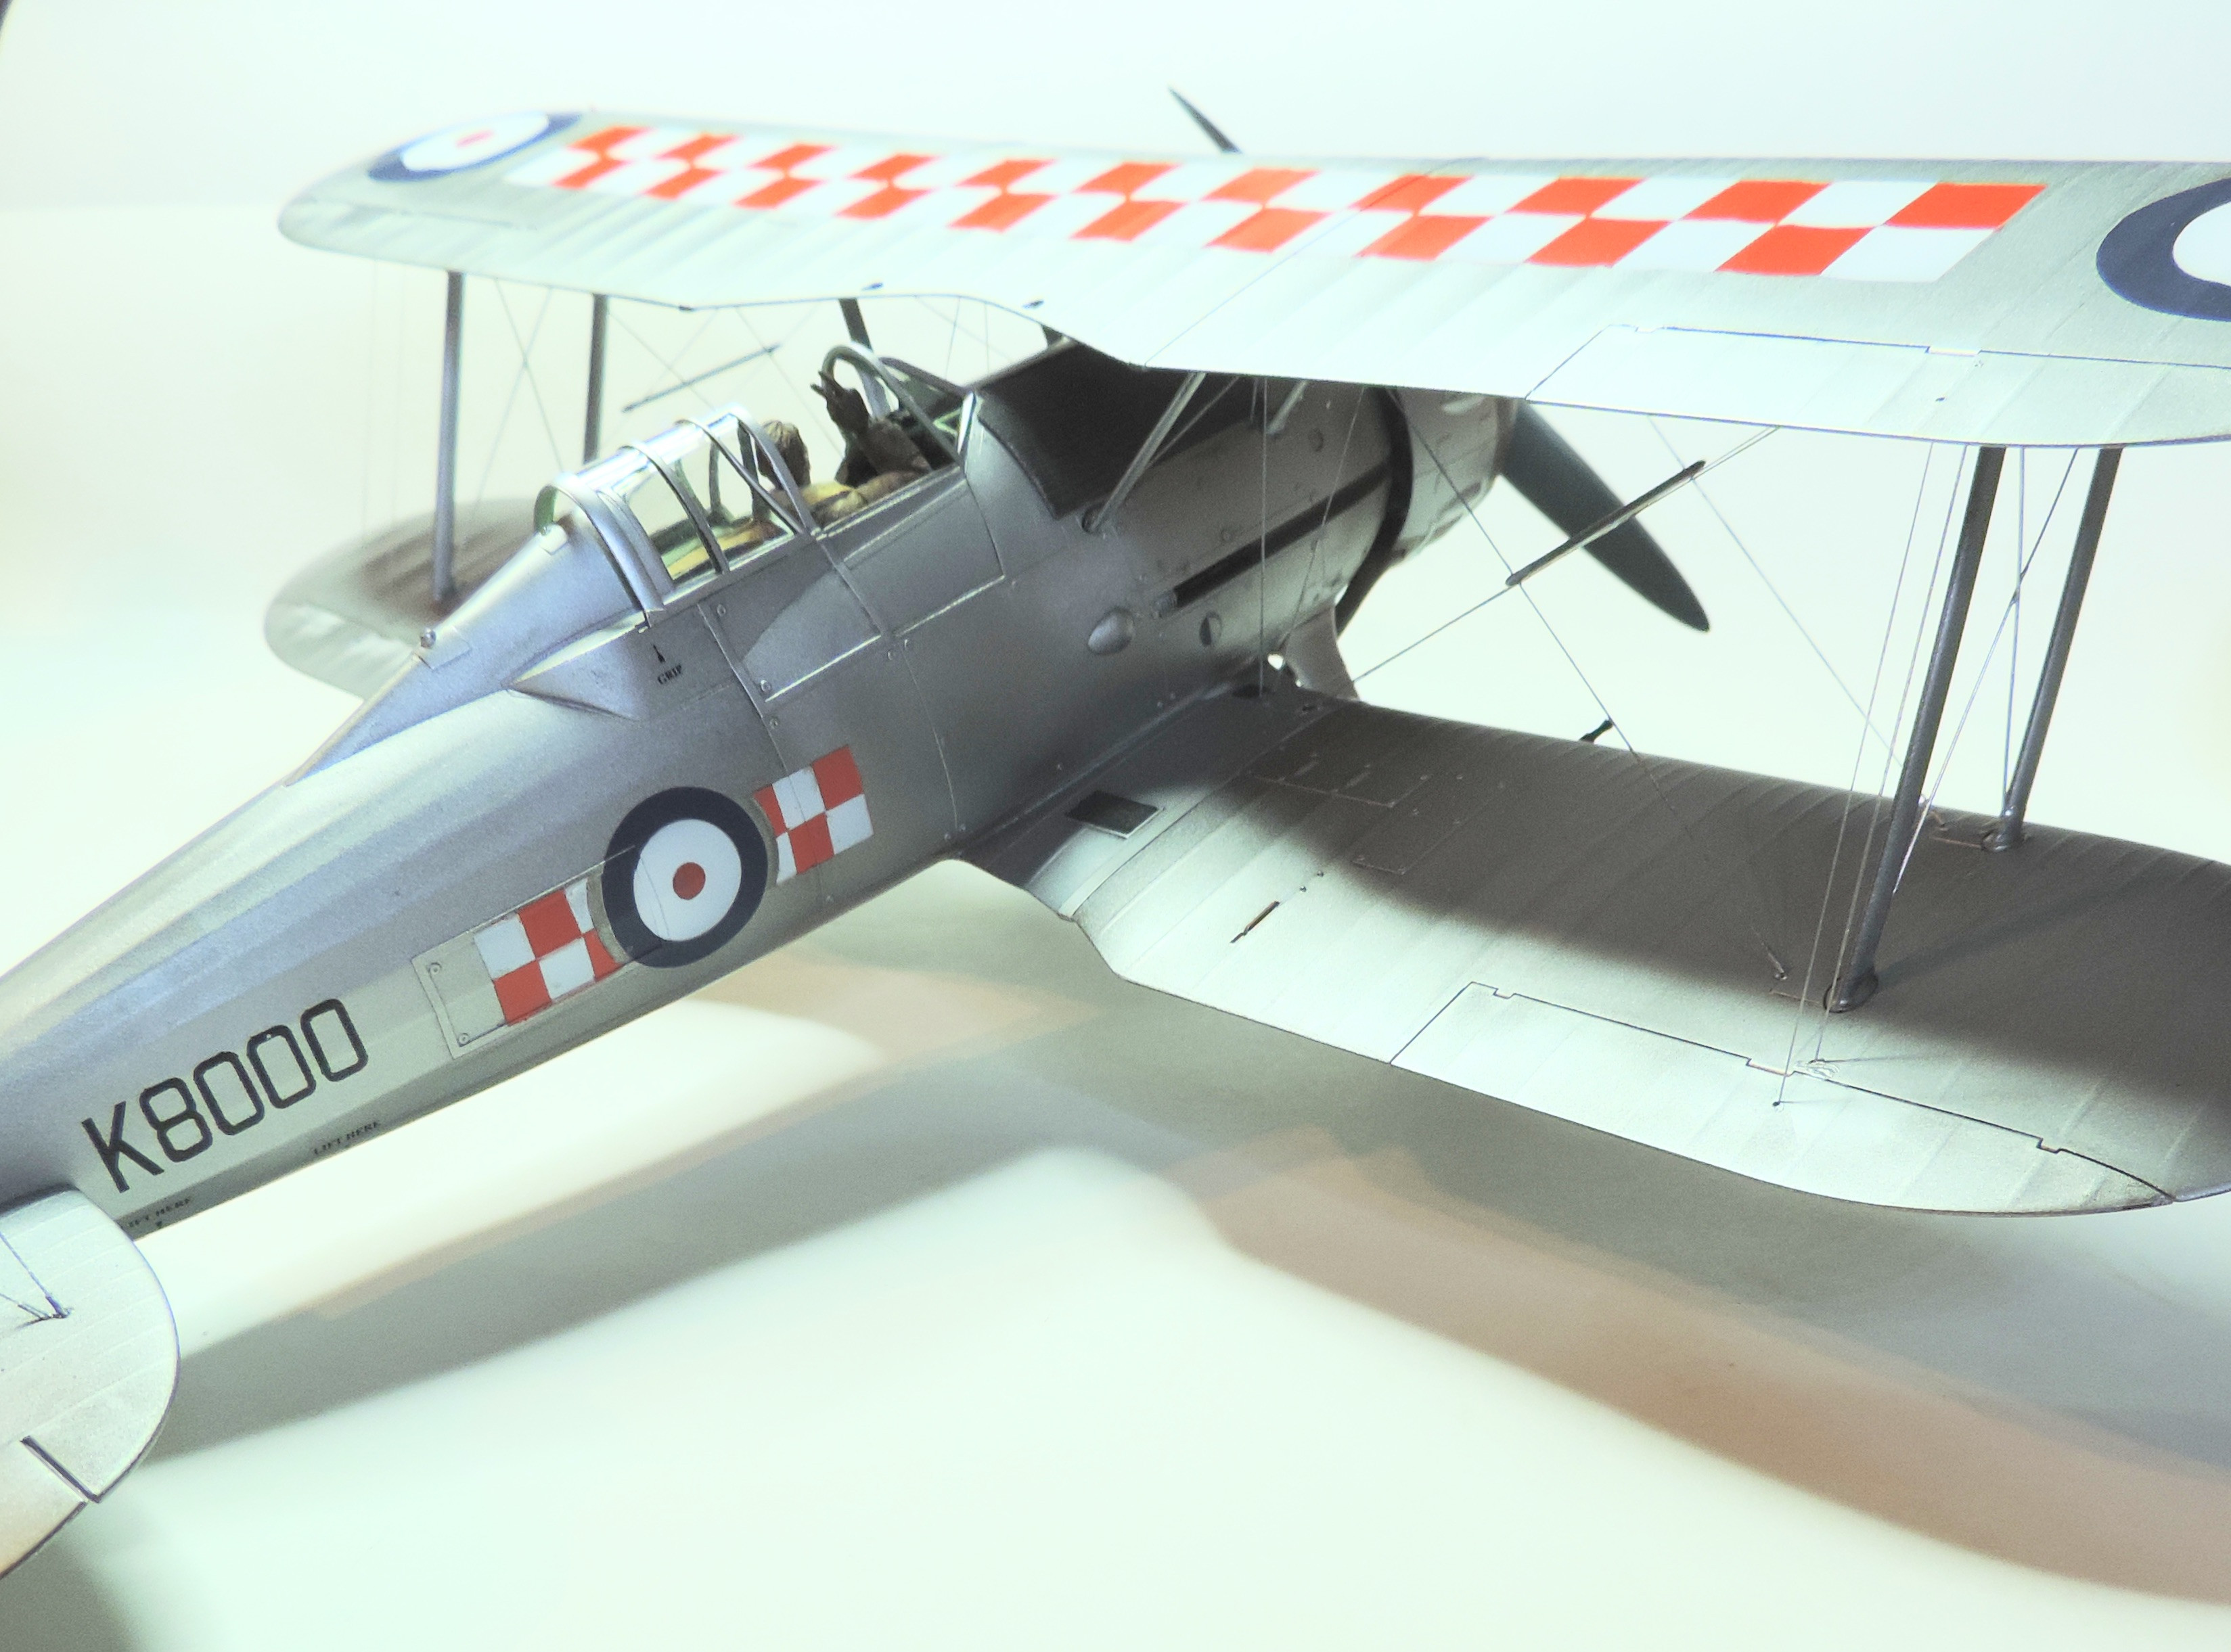
ICM's excellent 1/32 scale Gladiator I shown in 56 squadron colours. K8000 was definitely a 56 Squadron aeroplane, whether it had the famous red and white chequers has yet to be proven! All markings including the firebird on the tail fin designed and cut using the Cameo. The firebird was the limit of the cameo's capabilities I think and was tidied up afterwards with a fine brush.
-
6
-
-
Gloster Gladiator 56 Squadron
View FileMasks for ICM's 1/32 Gladiator as flown by 56 Squadron (possibly with chequerboard or not!)
-
Submitter
-
Submitted07/26/2020
-
Category
-
1
-


Cameo Vivus!!!
in Hardware & Software
Posted
It’s quite ironic really, I bought the Silhouette originally because I usually model specific and individual aircraft so the supplied decals always needed to be adapted, and also because I just don’t like using decals full stop! But the ones that were issued with the Echelon Lightning kit some 15 to 20 years ago are so good still that I’m contemplating using them instead of the masks I’ve prepared to date. With no cutter I can’t do the serial number so I’ll see how the wing roundels go down.