-
Posts
369 -
Joined
-
Last visited
-
Days Won
94
Content Type
Profiles
Forums
Events
Downloads
Posts posted by Kevin Futter
-
-
Welcome aboard, Jake!

Kev
-
Thanks for posting these, Dave. A bit late for me, unfortunately, but very useful all the same! I do have a second builder's kit, so you never know...
Kev
-
Welcome aboard!

Kev
-
Another forum software update, another test post! Stay calm, carry on.
Kev
-
 2
2
-
-
5 hours ago, geedubelyer said:
Taking on board your comments Kev, perhaps circles cut out of clear acetate would be better. Secured with Future/Klear, pva glue or similar?
It's worth a try, and probably what I'd try first. If you've got a spare panel to test it on before 'going live', I'd certainly recommend that. The problems will be twofold: getting exact size matches for the recesses, and keeping any glue smears out of the equation. But any kind of water-soluble glue that dries clear would be your best bet.
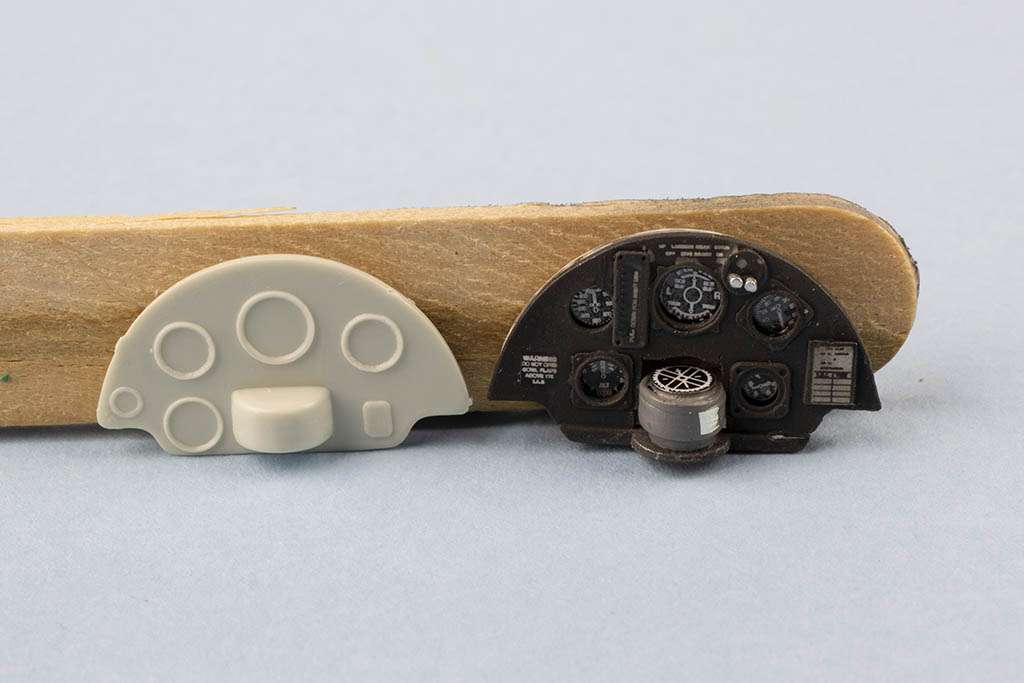
My preferred method for constructing instrument panels is the 'sandwich method', where a clear acetate layer is sandwiched between a backing piece and the front part containing the dial holes. To me this not only produces the most realistic result, but also obviates all the difficulties with trying to produce an effective glass look for the dials.
Here's one I scratch-built for the Matchbox Tiger Moth:


Of course, a lot of kit and even aftermarket panels don't lend themselves to this approach, and it also has nothing to do with cutting masks, either! Though I could imagine designing and cutting out the front part of the panel from thin styrene.
Kev
-
 3
3
-
-
Interesting idea, Guy. I think it's workable, but finding the right material is the key. I would worry that the adhesive backing would cause some cloudiness or lack of clarity - especially if disturbed during application. I've made landing light covers out of clear office tape, and had to be very careful not to touch the adhesive side, or all you'd see was a giant fingerprint. And of course, that type of material doesn't lend itself to being used on a cutting machine.
I'd be curious to hear what ideas other members might have.
Oh, I've used clear resin for this application too, and the secret is to use the UV curing gel, and hit it with the UV light after shaping it flat, and before it gets a chance to 'dome out'.
Kev
-
 1
1
-
 1
1
-
-
I tried to do this recently for the first time too, and had the same result, so I'm interested in this discussion also.
Kev
-
Welcome aboard, sir!

Kev
-
Welcome aboard, Scott!

Kev
-
More post-update post testing!
Kev
-
 2
2
-
-
One way that I've seen (but not done myself) is lay masking tape over the canopy, and then trace the frames with a pencil. Remove the tape, stick it to a piece of paper (you may have to section it to get it to lay flat), and then you've got something to scan. I'd imagine it would require a bit of clean up, but is probably still better than guessing.
By the way, welcome aboard!

Kev
-
 2
2
-
-
Just ran yet another forum software update, so just testing to make sure it still works!
Kev
-
 3
3
-
-
That was quick, Max!
Kev
-
 1
1
-
-
Welcome aboard, Andy!

Kev
-
Welcome aboard, sir!

Kev
-
 1
1
-
-
Many thanks for posting these, David. And welcome aboard!

Kev
-
Thanks, Max. I had a lot of fun with this one, and the combination of 3D printing and custom paint masks takes the modeller one step closer to being fully self-sufficient.
Kev
-
 1
1
-
-
Welcome aboard, Vitor!

Kev
-
Interesting idea, Guy. At the moment we don't really have such a place in a dedicated sense, as I always assumed members would make such requests in the applicable sub-forum that relates to their request. But a dedicated section would make things clearer, so I'll give it some thought!
Kev
-
 2
2
-
-
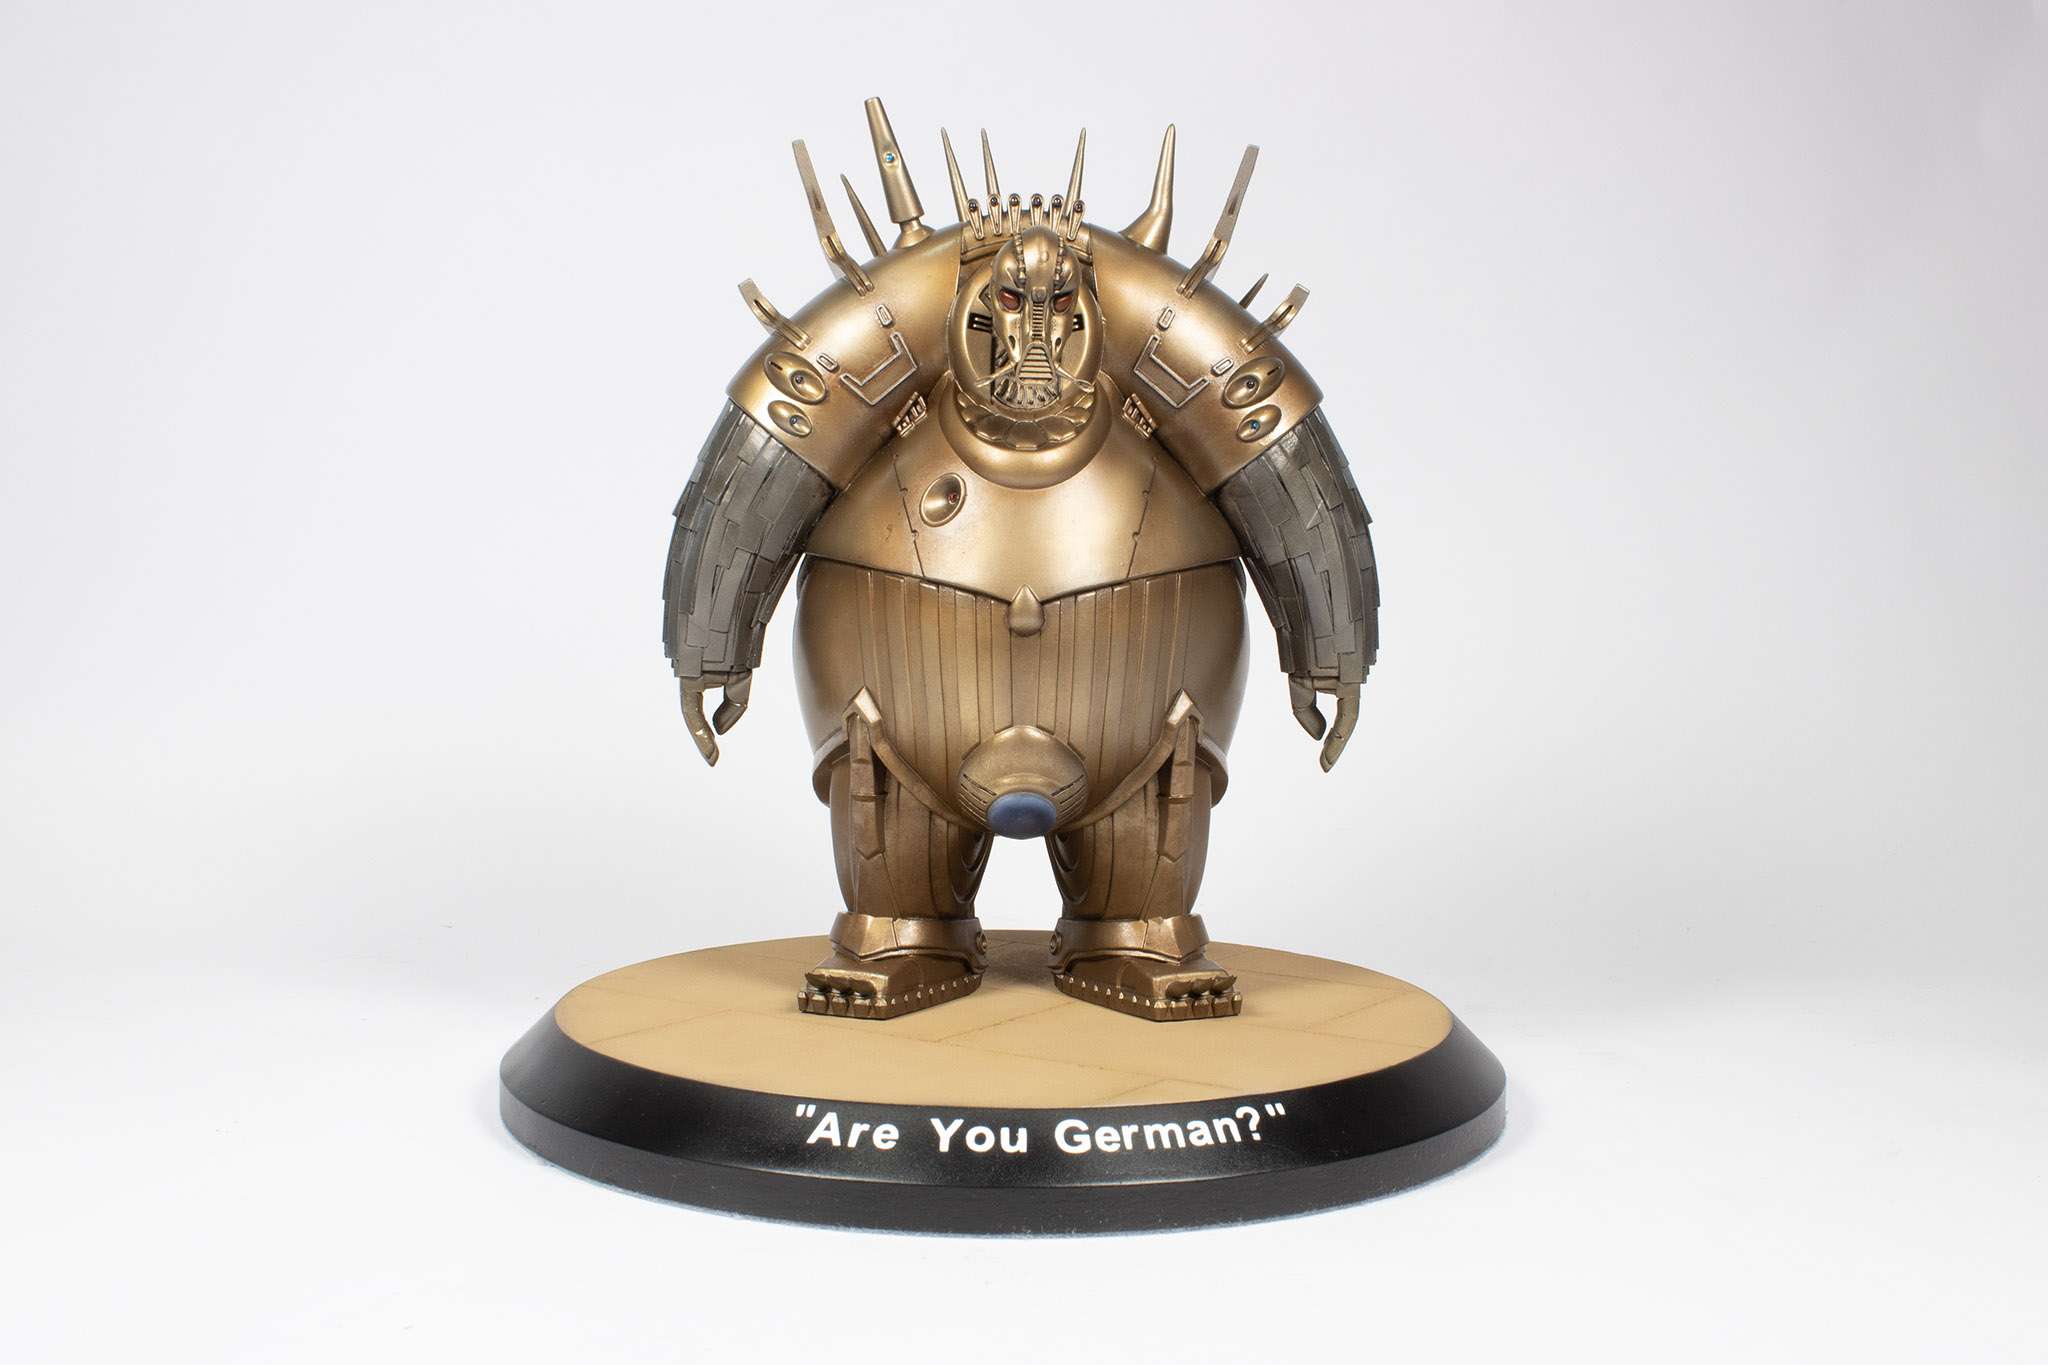
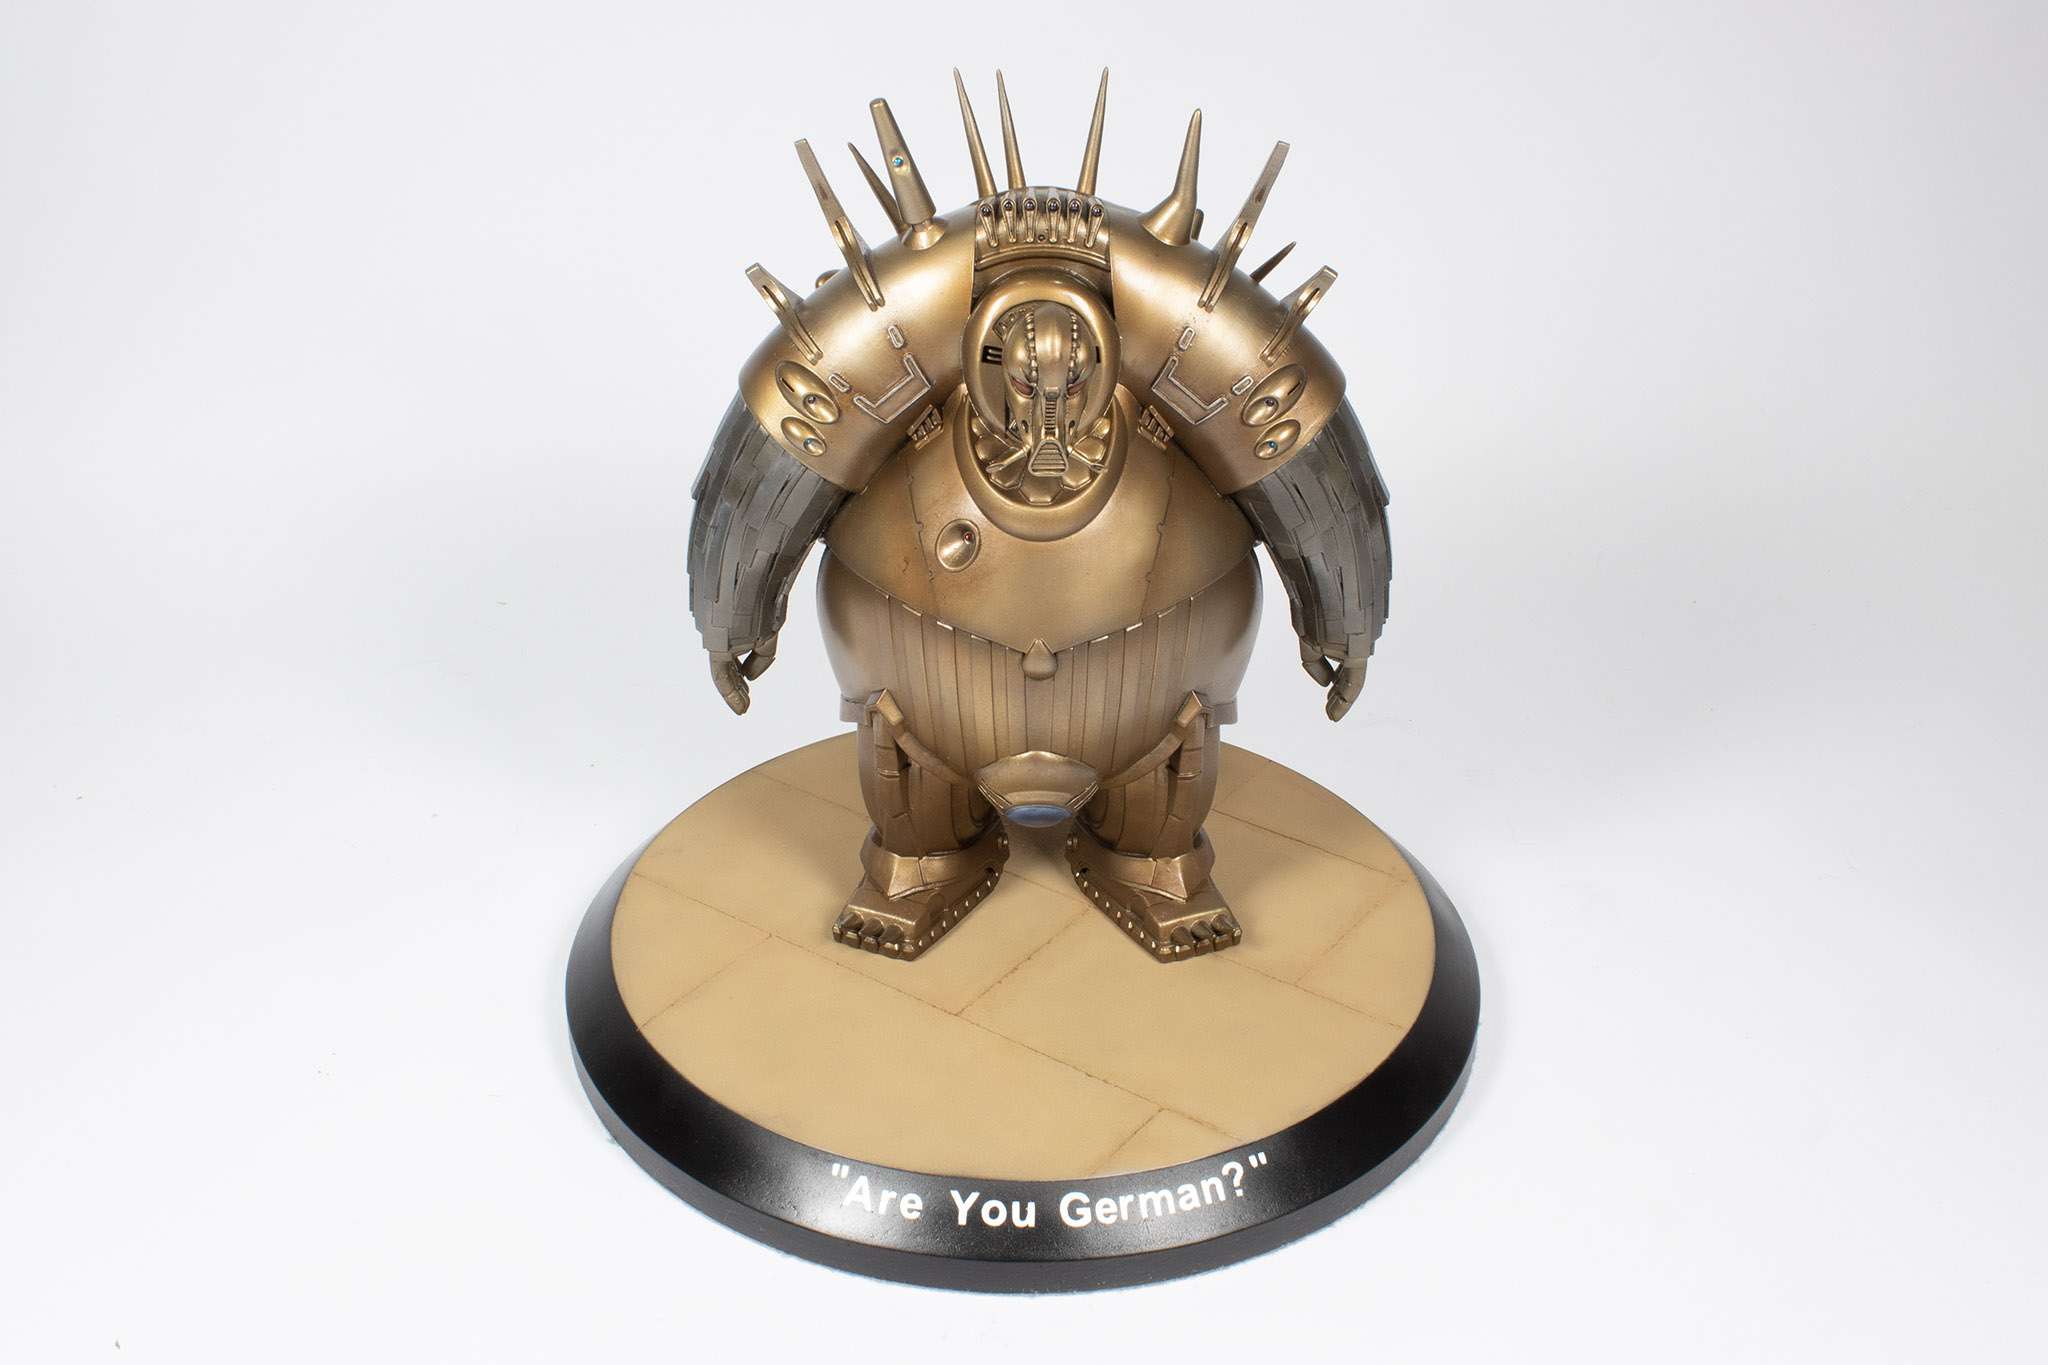
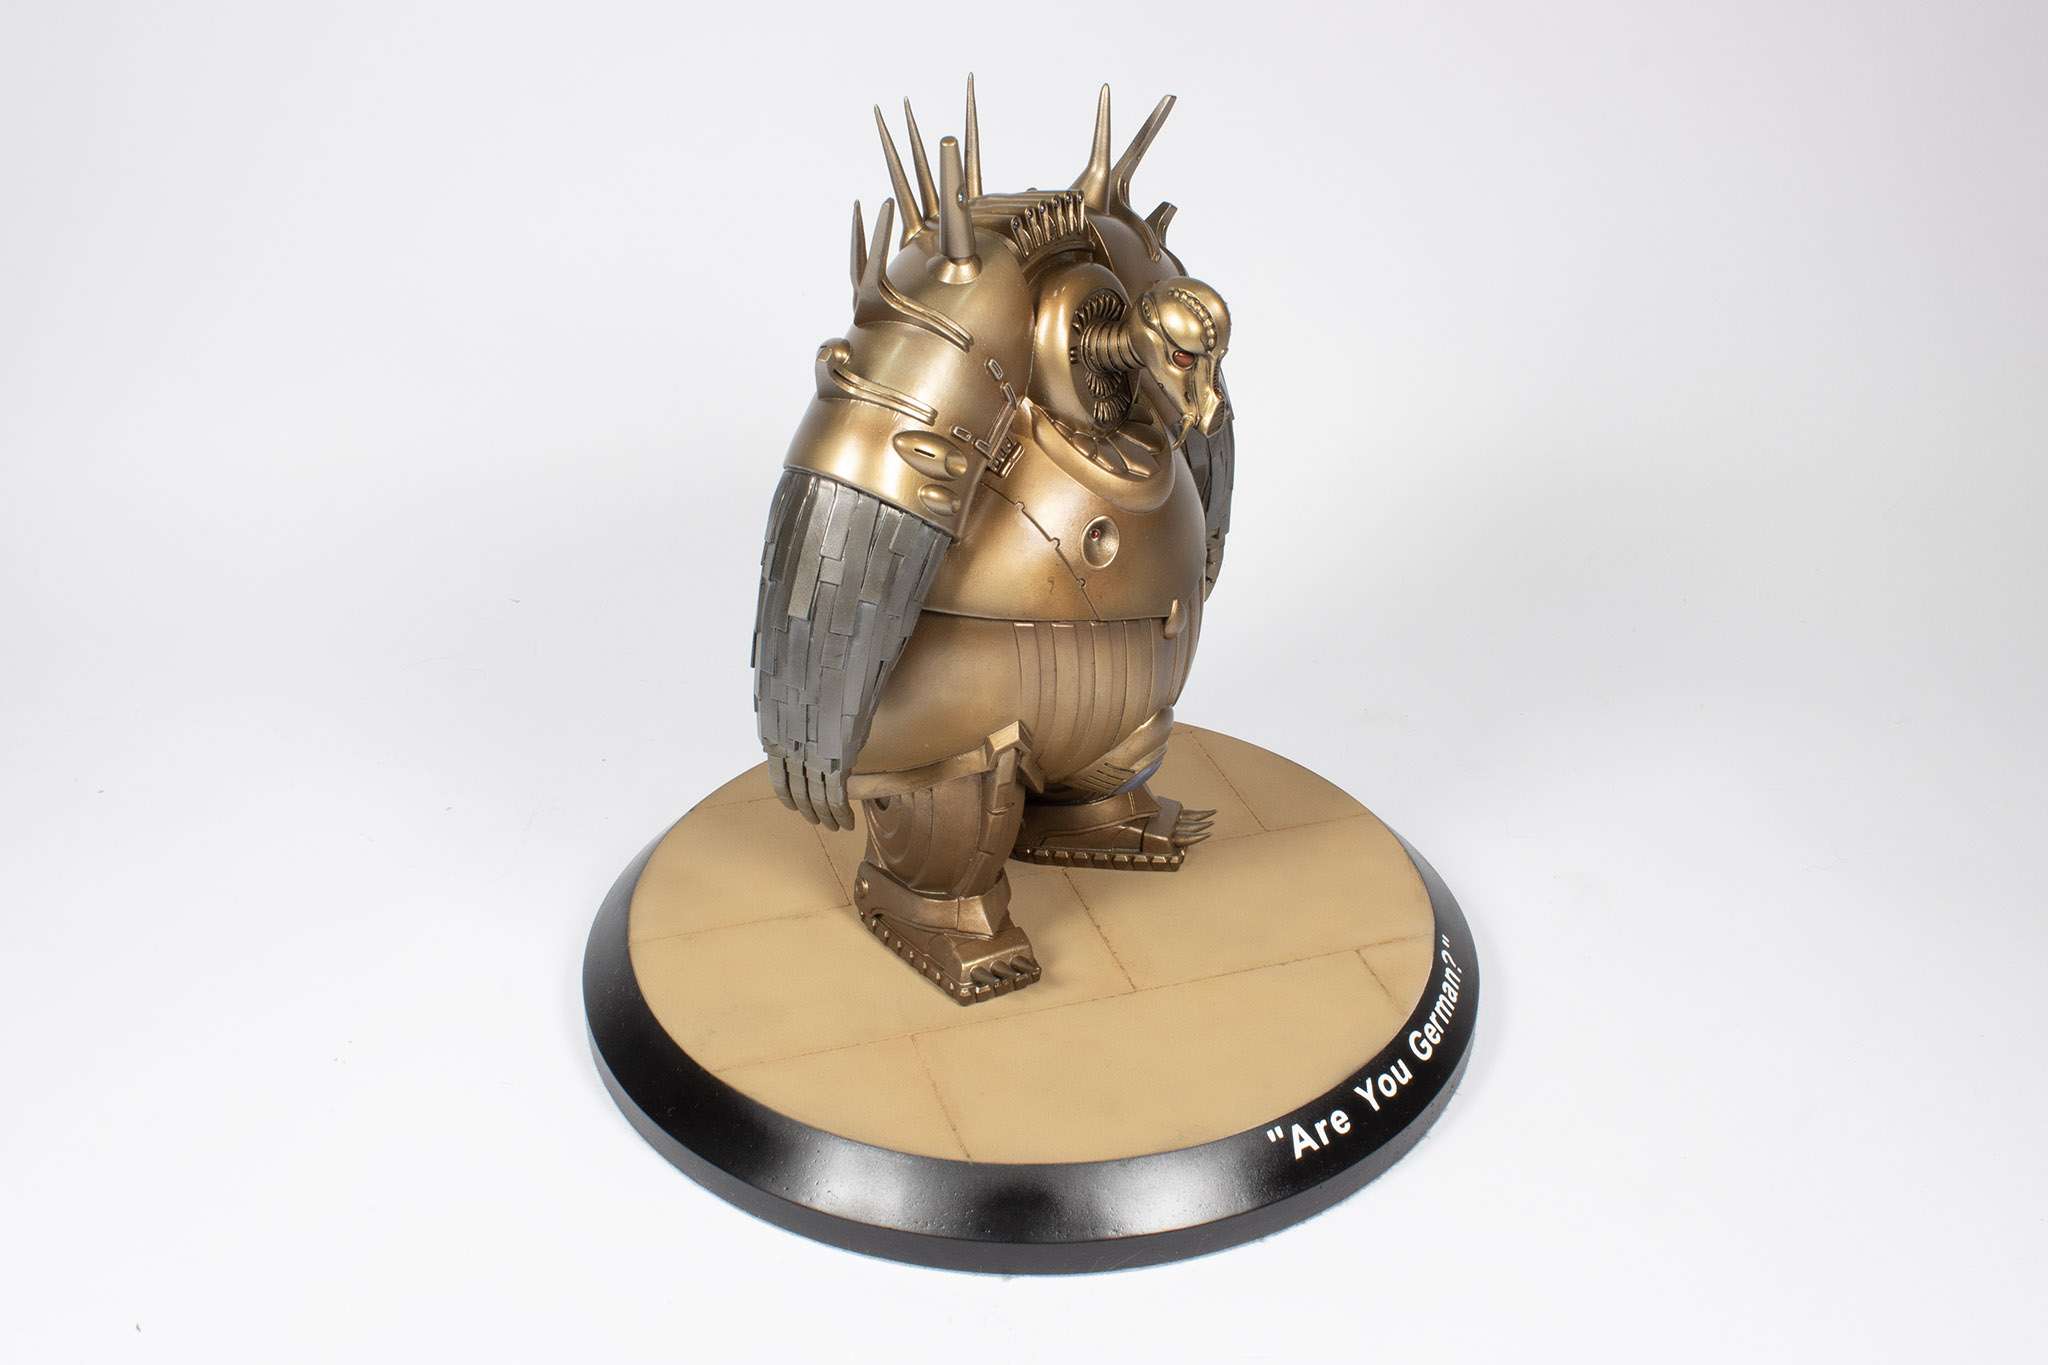
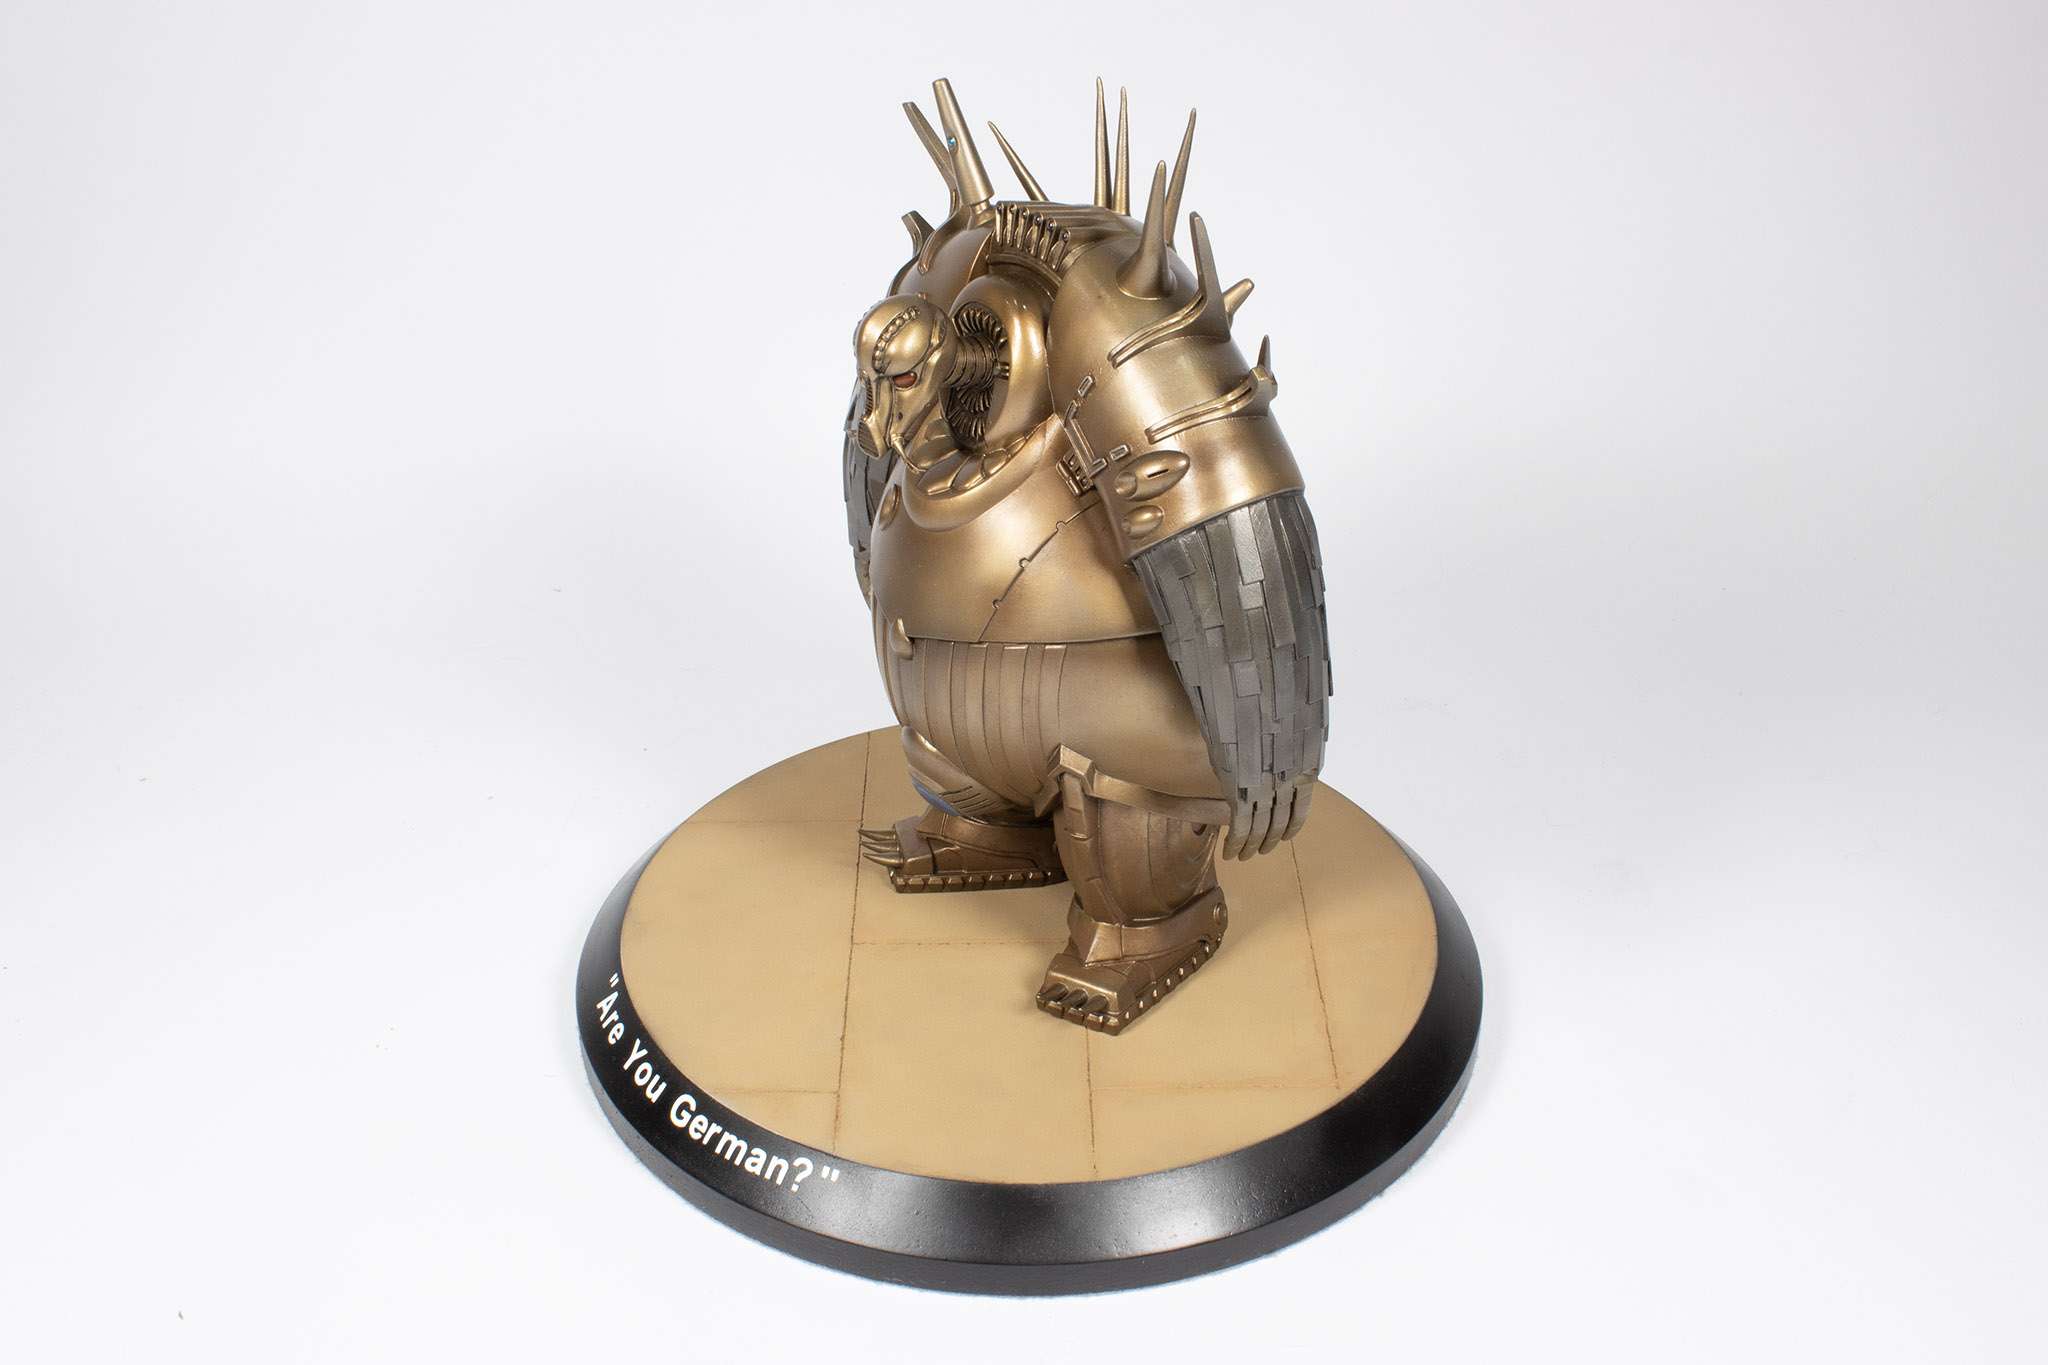
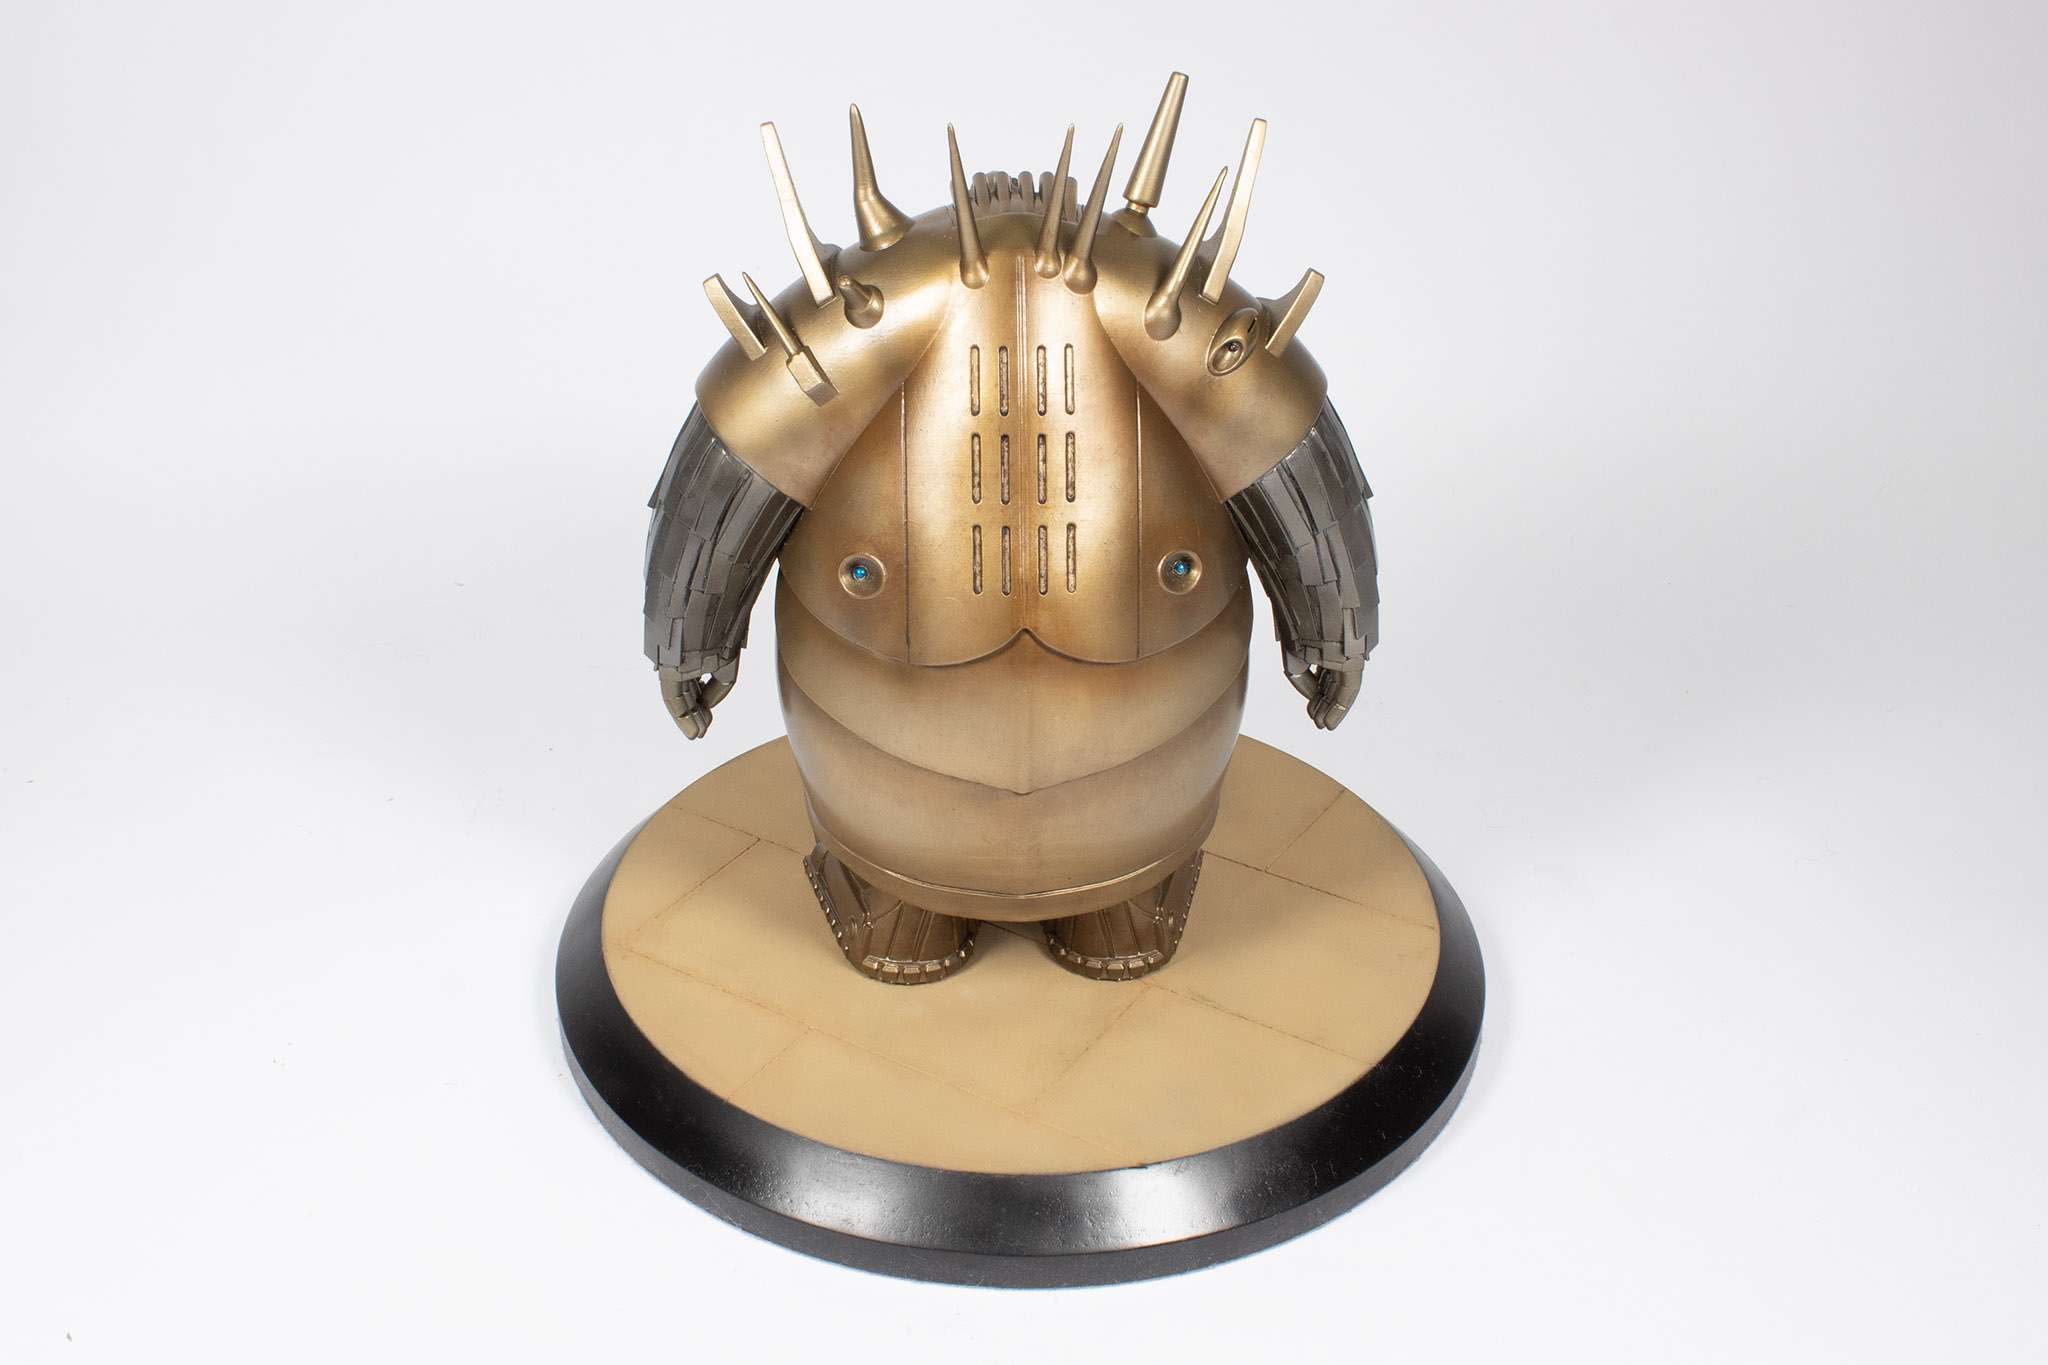
This was supposed to be a quick little side project to give me an excuse to print something on my Elegoo Saturn 3D printer, but like most of my projects, dragged on and got more complicated. I decided to try to recreate the metallic effects and overall weathering as close to what we see on screen as possible, and late in the piece, I decided it needed a base for stability purposes. The lettering on the base was cut iwth my Silhoutte Portrait and applied over a white base, and SMS Jet Black applied over the top. Took me 3 goes to get this right! So what was supposed to take a few days has ended up taking a few months, but here it is.
Thanks for looking! Now I need to get back to one of my many unfinished aircraft projects!
Kev
-
 4
4
-
-
Welcome aboard, Guy!

Great to have you here.
Kev
-
 1
1
-
-
Welcome aboard, Brian!

I think you could well be our first RC guy, which will definitely be a fresh perspective for us.
Kev
-
 1
1
-
-
I think Max is our resident Cameo 4 expert, though IIRC he only as the Cameo 2 model. I'm still getting to grips with Silhouette Studio myself, but haven't found the need to upgrade yet. Wish I had time to explore it further!
Kev
-
Software updates are monthly these days, so after each one, I'll make a quick test post to ensure everything seems OK. This is one of those.
Kev



Looking for some-one who will make a simple mask for me!
in Q & A
Posted
Welcome aboard, Rob.
Hopefully someone will be along to help you out soon.
Kev