
denders
-
Posts
96 -
Joined
-
Last visited
-
Days Won
39
Content Type
Profiles
Forums
Events
Downloads
Posts posted by denders
-
-
HI Matt. I don't have a '5' so I can't specifically speak to any sort of problems that may be particular to that model.
I typically use, Blade Depth 2, Force 6, Speed 5, and one pass. Acceleration must be new on the '5'. I believe a number of other folks here use similar settings with 810.
The depth setting is in tenth of a mm and blade depth of 1 is really close but if there are slight variations in the material, it might not cut all the way through the 810. A depth setting of 2 doesn't cut through the backer.
If I purchased a '5', I would be inclined to use the setting that I've listed here and then experiment with the acceleration setting to see if it makes any improvements.
I've found it is necessary, occasionally, to zoom in really closely and position the end point of lines.
Also, don't forget the files area where others have uploaded various masks.
Dave
P.S. since Kev answered before I could submit reply, contacting support would probably be good too.
-
 1
1
-
 1
1
-
-
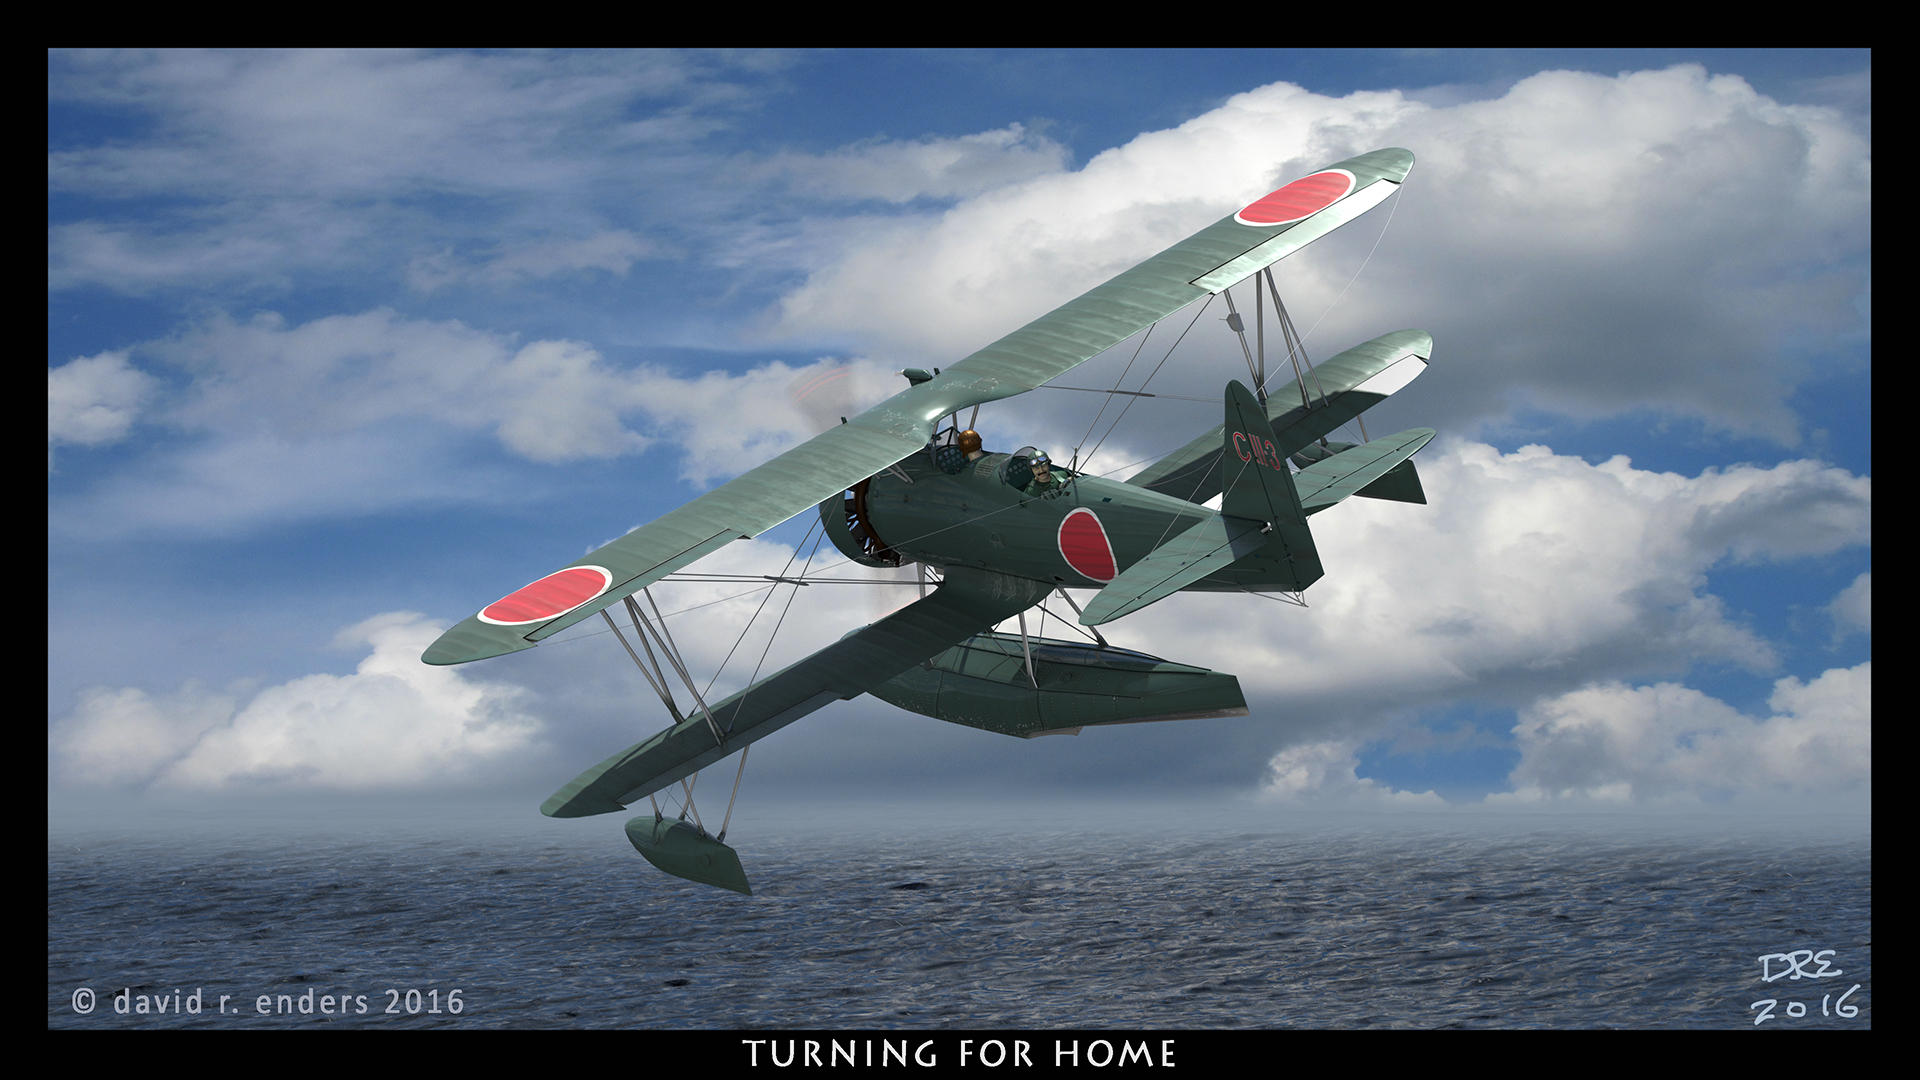
Thanks for these. Recently used several of them for my Fw190A-8.
-
1
-
-
Oh yeah, finished model.

-
2
-
-
Kev, they're uploaded. There's a extra topic to remove because I forgot how to upload files.

Dave
-
1
-
-
Revell Razer Crest Yellow Stripes Mask (studio3)
View File
I found the decals hard to work with while working on the cockpit, so I created a set of masks for the yellow stripes. Note, I sort of 'cheated' and created them so I wouldn't have to deal with transfer tape. You can add smaller scrape areas by making additions to the masks or perhaps some paint on masking.
Dave
-
Submitter
-
Submitted03/30/2024
-
Category
-
1
-
-
Hi Kev, yes, I will.
-
1
-
-
Masked up the remaining pieces and painted.
-
2
-
-
Thanks Kev. When I weeded out all the unnecessary bits, I realized there's a mistake there. This is the final after a recut.
First mask piece in place.
Paint on.
Masks off.
I like it. Just 4 more mask pieces to go.
-
2
-
-
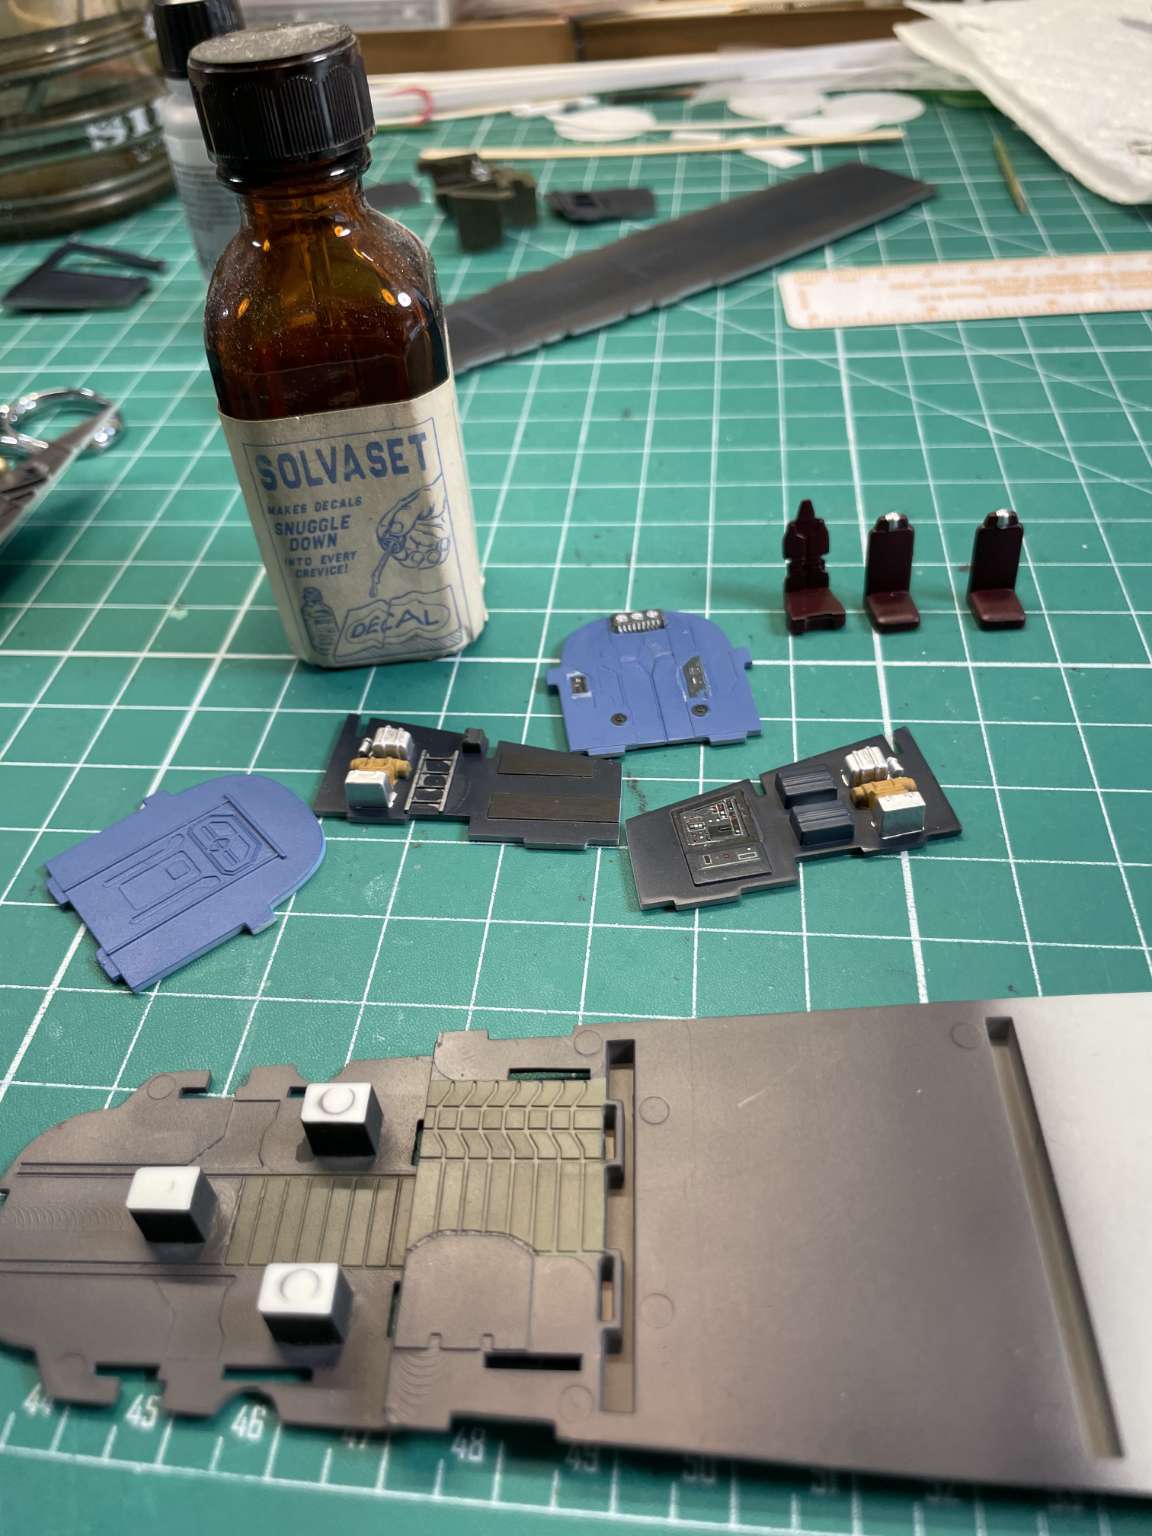
I've been working on a Revell Razor Crest. When I used the decals in the cockpit, they seemed a bit thick and I eventually had to pull out a very old bottle of Solvaset and use a 1/4" flat brush to push them down into the details. Therefore, I was concerned about using the kit decals for the yellow stripes on the outside.
So I decided to make masks for painting the yellow stripes. I'm sure it'll be challenging to get them in place correctly. This is a screen capture from the Silhouette Studio software. I think it's the largest single piece of masking material that I've used. I'll weed out what I don't need but it'll be a couple days 'til I try them. It's raining so I can't paint and I don't want to have them sitting around stuck to the model for a while.
It should be interesting.
-
2
-
-
On 3/3/2024 at 1:22 AM, snigel79 said:
I have tried "Gold mask" and find that it's reasonably sticky and flexible for canopymasks but is too easily distorted when the mask get much larger or intricate. It sticks to the backingpaper too much for masking the ID-letters on 1/48-scale RAF fighters for example unless a transferfilm is used. The smallest circles are not cut cleanly enough by the machine (maybe it is a speedsetting issue) so the smaller cirlcles are better cut by other means. It tends to curl very easily making placement difficult and gunks up the blade quicker than Oracal 810. I'd say using a transferfilm is a must when using Goldmask unless you're masking a canopy, nosecone or something like that. It will stick to compound curves almost as good as paint though. Is it a good maskingmaterial? It depends on what you're masking.
Thanks for the input. Having looked at a video, what you're saying makes sense to what the material looks like in that video.
-
Becoming a little less liking this stuff. It should stick on the canopy better than this. The canopy curve isn't that extreme and this is 32nd scale. I didn't wash the canopy parts although it isn't falling off, it's just not sticking over the curve. I'll be fine if I press it down when I go to paint, but....
-
 1
1
-
-
Yes, those seem to have come out okay. I tried some cuts at Depth setting of 1 and I'm not sure if it actually cut properly. I also tried using this for the masks for the markings on the top surface of the wing above the flaps that I've gotten the idea it is something like 'NO STEP' and one of the Japanese characters did not cut well. I have not gone back and altered the speed and pressure yet.
Right now, I'm working on the canopy masks for the Ki-100. I'll see how those turn out.
-
1
-
-
I ordered some of the Green Stuff World masking material. Each pack contains two, 200mm x 300mm (8" x 12") sheets.
I needed to make a half circle as part of the masking of the silver paint on my Ki-100 model (over at LSP). And I added a couple of the "64"s for the landing gear covers.
I cut an 1.5" x 4" piece and placed on the Cameo cutting mat.
And sent through the cutter using the normal setting that I've been using for materials like Oracal 810 and Art tool Ultra Mask. The setting to note is the depth of 2. As you can see, with a depth setting of 2 it is close to cutting the whole way through. I ran another with a depth setting of 1 and it seems to have made the cuts without coming close to cutting through.
I then placed some of the cut masks on the onto the model. The half circle will be accompanied by tape to mask the under side of the fuselage, etc. I used Frisket as a transfer tape to place the "64"s.
I found the GSW masking at Noble Knight Games. It was ~$4.30 per pack there, on the Green Stuff World (Spain) site it was ~$2.50 per pack. The Tamiya sheets were ~7" x 9", 5 sheets for about $11, if you can find it. Looking on the SB site, Ammo, Border, and Tamiya have masking sheets of various sizes and quantities. Some don't show in stock.
I haven't decided on trying out the other material that I found, it's 12" x 11 yards at $65. If it works, it will probably last my lifetime. 🤪
-
2
-
-
Hmmm, I found this at Coast Airbrush. It looks very similar.
coastairbrush.com/proddetail.asp?prod=FBS_Gold_Mask_Plottable_Masking&cat=23
-
1
-
-
The name Kamoi seems to be related to the material. Most listings on google show some sort of tape. I also saw some indications about that tape related to masking for painting automobiles but I haven’t gone on a search for a local automobile paint supplier yet.
I found that Green Stuff World has 200 x 300mm sheets. If I order directly from GSW it’s a pack of 2 sheets for about $2.50. But the shipping. I found someone here in the states who sells them for about 60% more.
-
1
-
-
Anyone come across a source for sheets of the material like Tamiya tape? Other than buying the small sheets from Tamiya and others? Eduard and others are selling masks made from the same or similar stuff.
-
-
2
-
-
Yes, assuming it's sharp.
Something else to check on, remove the cover of the blade, where it sticks out, and make sure there aren't any little bits from previous cuts stuck inside.
I'm on my notebook which isn't what I use for masks, etc. IIRC, my typical settings are Depth 2, Speed 5, Force 6. You could also peruse @Mozart's posts and check his settings. I'm sure there's one of his posts that he lists them. He's using a Cameo 3 too.
The wife had knee replacement surgery 2 weeks ago and I have the notebook sitting on the end of the dining room table so I'm closer if she needs something. Not much modeling being done lately. 🙂 She's doing really well,btw.
-
1
-
-
You're correct, photos need to be hosted elsewhere.
There are some other very generic blades that I've seen used, bought on Amazon. That's the reason I suggested a photo. When I first got my cutter, I joined a couple of FB groups to see what others were doing. Those groups were more generic in use than just masking for models.
I have a cameo 4, for information. I've used a blade depth setting of 2 when cutting the Oracal 810 or UltraMask. I've also stuck with Silhouette blades.
-
Steve, post a picture of the blade.
I've been using Artool UltraMask, others use Oracal 810, and the sheets from Tamiya that is material similar to their tape.
UltraMask Artool Ultra Mask Professional Masking Film — Midwest Airbrush Supply Co
Oracal 810 Oramask 810 Stencil Vinyl Choose Your Length – CraftCutterSupply.com
Dave
-
2
-
-
Don't go too cheap Kev. 3D programs need plenty of RAM and video card. And I believe that Studio works better on better video cards too.
-
1
-
-
I see that Ammo has something that appears similar. I don't know anything about it, though. SB shows Out of Stock for the Tamiya sheets.
-
Hmmm, Electrostatic Technology, don't need a 'sticky' mat. Interesting. That would mean that the material you're cutting has to go under the rollers. I tend to cut appropriately sized pieces and put them on the mat. I guess that would be more useful to folks who cut larger items.
-
1
-
-
Cool!


Cameo 5 not performing as expected
in Q & A
Posted
Something else just came to mind.
Are you using one of the 'sticky' mats? If you aren't, I'm wondering if the Oramask is slipping.
I usually cut a piece of masking material the size that I need and put it on one of the sticky matts.