

denders
SMPM_Members
-
Joined
-
Last visited
-
 I agree with Kev on both accounts. I used to have a notebook that had AutoCAD on it from where I used to work, but that's now gone. And I got away from using that because of the hassle of transferring files and importing different file types, etc.
 -
I've been using frisket. It's not really clear, like glass though. I don't use full sheets. I cut it in strips for use.
-
I've been using frisket, and I usually find that I need to use the tip of a x-acto knife to get the masking material started. There's usually no problem from there. I've been using Artool Ultra Mask which is very similar to 810 in appearance.
-
Something else just came to mind. Are you using one of the 'sticky' mats? If you aren't, I'm wondering if the Oramask is slipping. I usually cut a piece of masking material the size that I need and put it on one of the sticky matts.
-
HI Matt. I don't have a '5' so I can't specifically speak to any sort of problems that may be particular to that model. I typically use, Blade Depth 2, Force 6, Speed 5, and one pass. Acceleration must be new on the '5'. I believe a number of other folks here use similar settings with 810. The depth setting is in tenth of a mm and blade depth of 1 is really close but if there are slight variations in the material, it might not cut all the way through the 810. A depth setting of 2 doesn't cut through the backer. If I purchased a '5', I would be inclined to use the setting that I've listed here and then experiment with the acceleration setting to see if it makes any improvements. I've found it is necessary, occasionally, to zoom in really closely and position the end point of lines. Also, don't forget the files area where others have uploaded various masks. Dave P.S. since Kev answered before I could submit reply, contacting support would probably be good too.
-
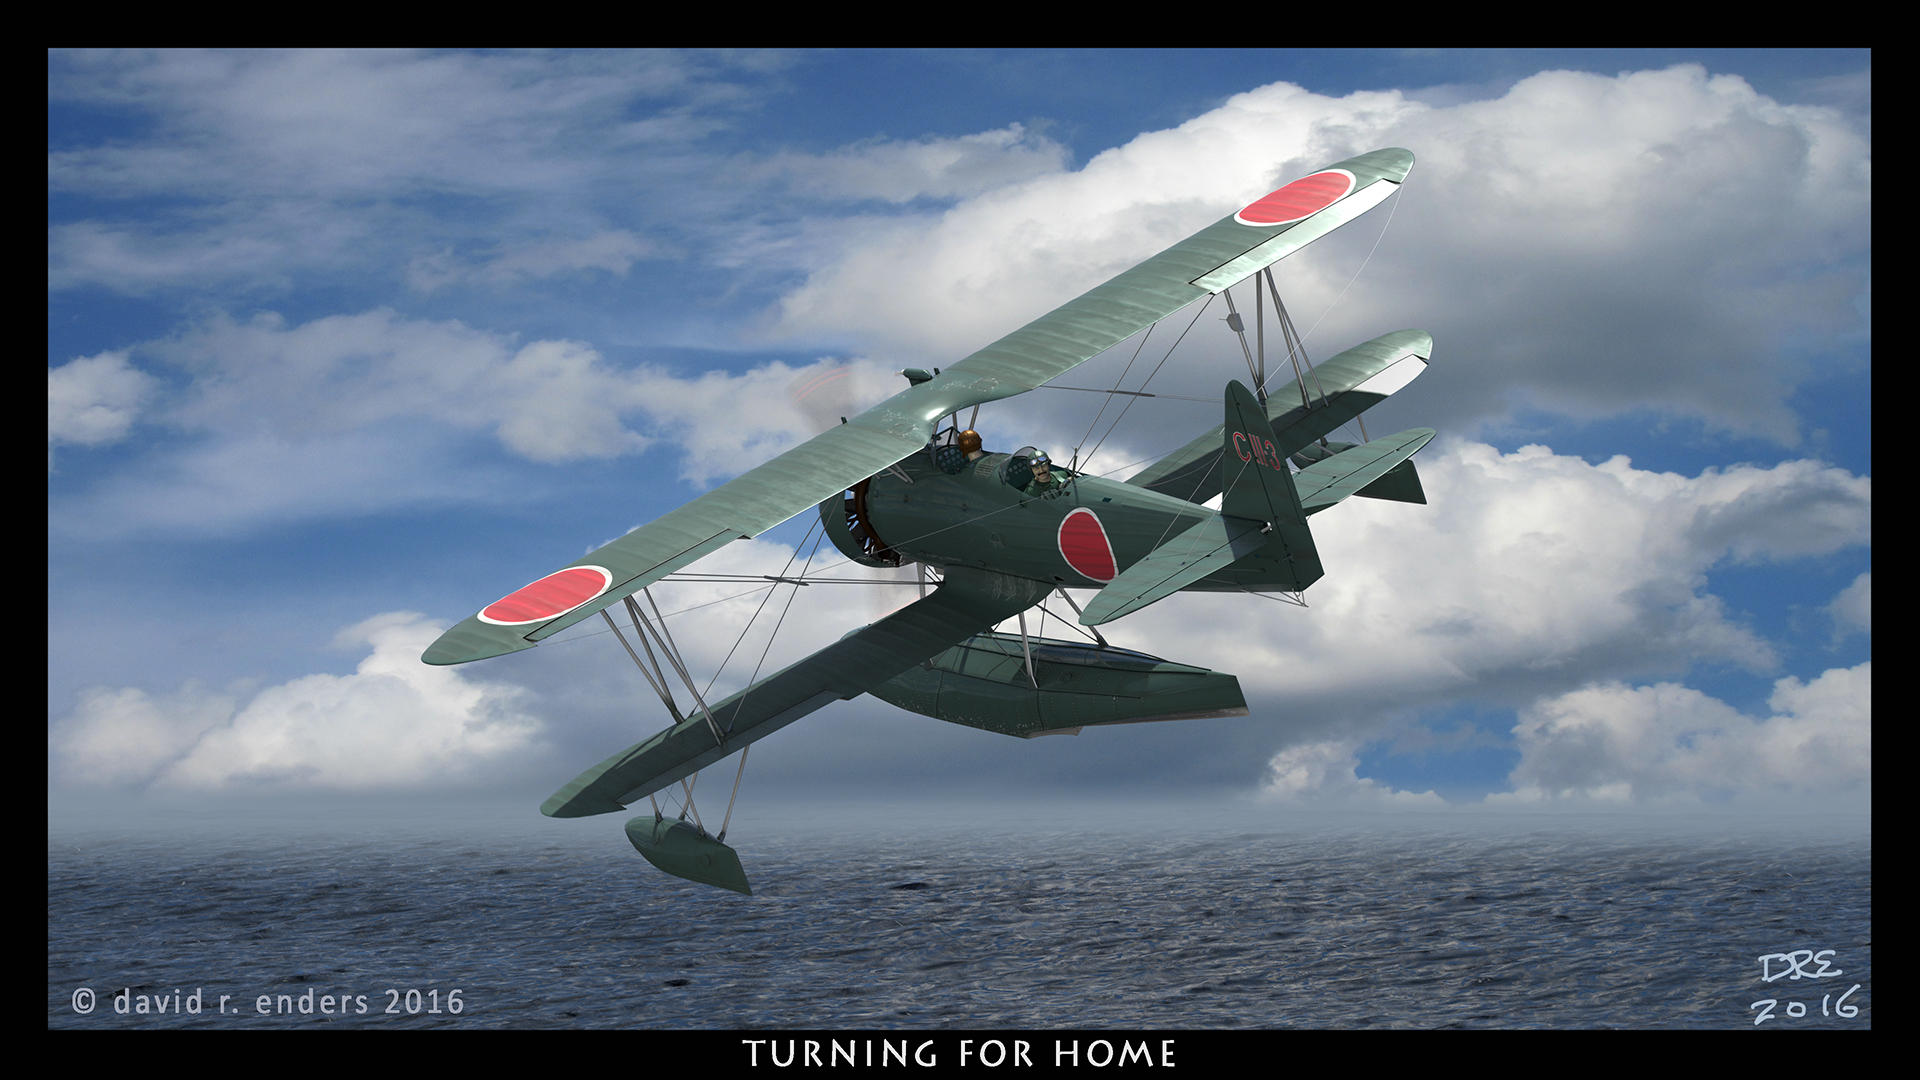
Thanks for these. Recently used several of them for my Fw190A-8.
-
Oh yeah, finished model.
-
Kev, they're uploaded. There's a extra topic to remove because I forgot how to upload files. Dave
-
I found the decals hard to work with while working on the cockpit, so I created a set of masks for the yellow stripes. Note, I sort of 'cheated' and created them so I wouldn't have to deal with transfer tape. You can add smaller scrape areas by making additions to the masks or perhaps some paint on masking. Dave
-
Revell Razer Crest Yellow Stripes Mask (studio3) View File I found the decals hard to work with while working on the cockpit, so I created a set of masks for the yellow stripes. Note, I sort of 'cheated' and created them so I wouldn't have to deal with transfer tape. You can add smaller scrape areas by making additions to the masks or perhaps some paint on masking. Dave Submitter denders Submitted 03/30/2024 Category Sci-Fi & Real Space
-
Hi Kev, yes, I will.
-
Masked up the remaining pieces and painted.
-
Thanks Kev. When I weeded out all the unnecessary bits, I realized there's a mistake there. This is the final after a recut. First mask piece in place. Paint on. Masks off. I like it. Just 4 more mask pieces to go.
-
I've been working on a Revell Razor Crest. When I used the decals in the cockpit, they seemed a bit thick and I eventually had to pull out a very old bottle of Solvaset and use a 1/4" flat brush to push them down into the details. Therefore, I was concerned about using the kit decals for the yellow stripes on the outside. So I decided to make masks for painting the yellow stripes. I'm sure it'll be challenging to get them in place correctly. This is a screen capture from the Silhouette Studio software. I think it's the largest single piece of masking material that I've used. I'll weed out what I don't need but it'll be a couple days 'til I try them. It's raining so I can't paint and I don't want to have them sitting around stuck to the model for a while. It should be interesting.
-
Thanks for the input. Having looked at a video, what you're saying makes sense to what the material looks like in that video.

