

Kevin Futter
-
Posts
369 -
Joined
-
Last visited
-
Days Won
94
Content Type
Profiles
Forums
Events
Downloads
Posts posted by Kevin Futter
-
-
Welcome aboard, Adam!

Good luck with your mask cutting adventures! All questions welcomed.
Kev
-
Thanks, Iain!
Kev
-
 1
1
-
-
Thanks for posting these, Iain!
Kev
-
4 minutes ago, MikeC said:
All ok here thanks Kev.
Excellent! Whenever there's a software update, I have to remember to clear the system caches, or no one can post!
Kev
-
1
-
-
Another software update, and another test to make sure everything still works!
Kev
-
I've just now got around to watching this video myself, and it's excellent. Thanks for posting it!
Kev
-
Welcome aboard, Neo!
Kev
-
 1
1
-
-
Welcome aboard, sir!
Kev
-
39 minutes ago, MikeC said:
I think that given your KLP Publishing activities and work on LSP, you're doing as much as you reasonably can on here, and we thank you for it.
Thanks, Mike. We'll see how the next year goes...
Kev
-
1
-
-
Thanks for your input, fellas. Truth is, if I could minimise the personal financial cost, I’d be happy to simply let the site exist in perpetuity, busy or not. But when I first launched Scale Model Paint Masks, I had a day job, and could absorb the expense. That’s no longer the case. Apart from the SSL certificate, which I’ll renew shortly, the site is paid up for another year, so it will survive at least that long, and hopefully I can make the site viable in that time. The first thing I need to change is to lead from the front and become more active here myself!
Kev
-
2
-
-
It seems you may be right, Max.
Kev
-
Having just shelled out several hundred dollars in annual costs to keep Scale Model Paint Masks running, I've come to realise that it's not financially tenable for me to continue to do so. Without sponsorship or benefaction, I'm humbly going to have to ask for your collective assistance in defraying the running costs of the site. To that end, I've set up a new PayPal Donate button (below), with which you can donate any amount of your choosing, from a single dollar upwards. Any amount will help!

If the button doesn't work for you, try the link below:
https://www.paypal.com/donate/?hosted_button_id=4F8UANDQKKFR4
I thank in advance those of you who are able to donate, and hope to find a better solution to covering our operating costs as we move forward.
Kev
-
Welcome aboard, Mark!
Lovely work on that An-2. Whose kit is it?
Kev
-
Just ran another software update for the forums, and testing that posting is working normally.
Kev
-
13 hours ago, snigel79 said:
I have traced RAF WW2 aircraft code/serial fonts in Silhouette Studio (basic edition) and want to upload it. The software does not allow me to save it in any other format than Silhouettes own format, is it OK for me to upload it anyways despite it being for Silhouette only?
If anyone with the higher tiers of the software would be willing to convert it for me to a more universal format like DFX or something that other cutters can use I would appreciate it.
The Silhouette format is perfectly OK, as it represents what the majority of us use anyway, but a more universal format is always preferable by definition. So, upload away!
Kev
-
2
-
-
18 hours ago, snigel79 said:
Does the oracal stuff come in rolls that fit the silhouette cameo 4? Or do I have to cut it up into peices to fit the machine? How does it compare cost-wise to artools maskingmaterials?
I bought my Oramask in a large roll, and it definitely needs to be cut up for the Portrait 2 that I have. I'm not familiar enough with the Cameo to answer your question definitively, however, but I suspect the roll I have would be too large for that, too.
Kev
-
I just use plain old Tamiya tape, but I've only needed to use it a couple of times.
Kev
-
That's interesting. It's been a long time since I've had to deal with Windows fonts. Can you tell us what fonts they are? The entire name plus format if you know it.
Kev
-
That's a tricky one, and not something I've had a lot of experience with in Silhouette Studio so far. I'm a Mac user, so probably can't offer a lot of useful advice about Windows fonts anyway. Hopefully one of our other members with a similar set up to yours can assist.
Kev
-
Welcome aboard!
Honestly, I haven't upgraded so far, but I'm also far from a heavy user. My advice would be to stick with the basic version, which has plenty of functionality, and then as you step up in experience and ambition, consider the upgrade then.
Kev
-
1
-
-
Came out great, Max! But to be honest, I would have done it that way too, just to ensure no white fringing. Mostly though, I try to paint the insignia before the camouflage, for the same reason.
-
1
-
-
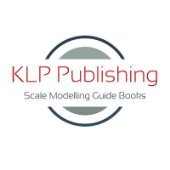
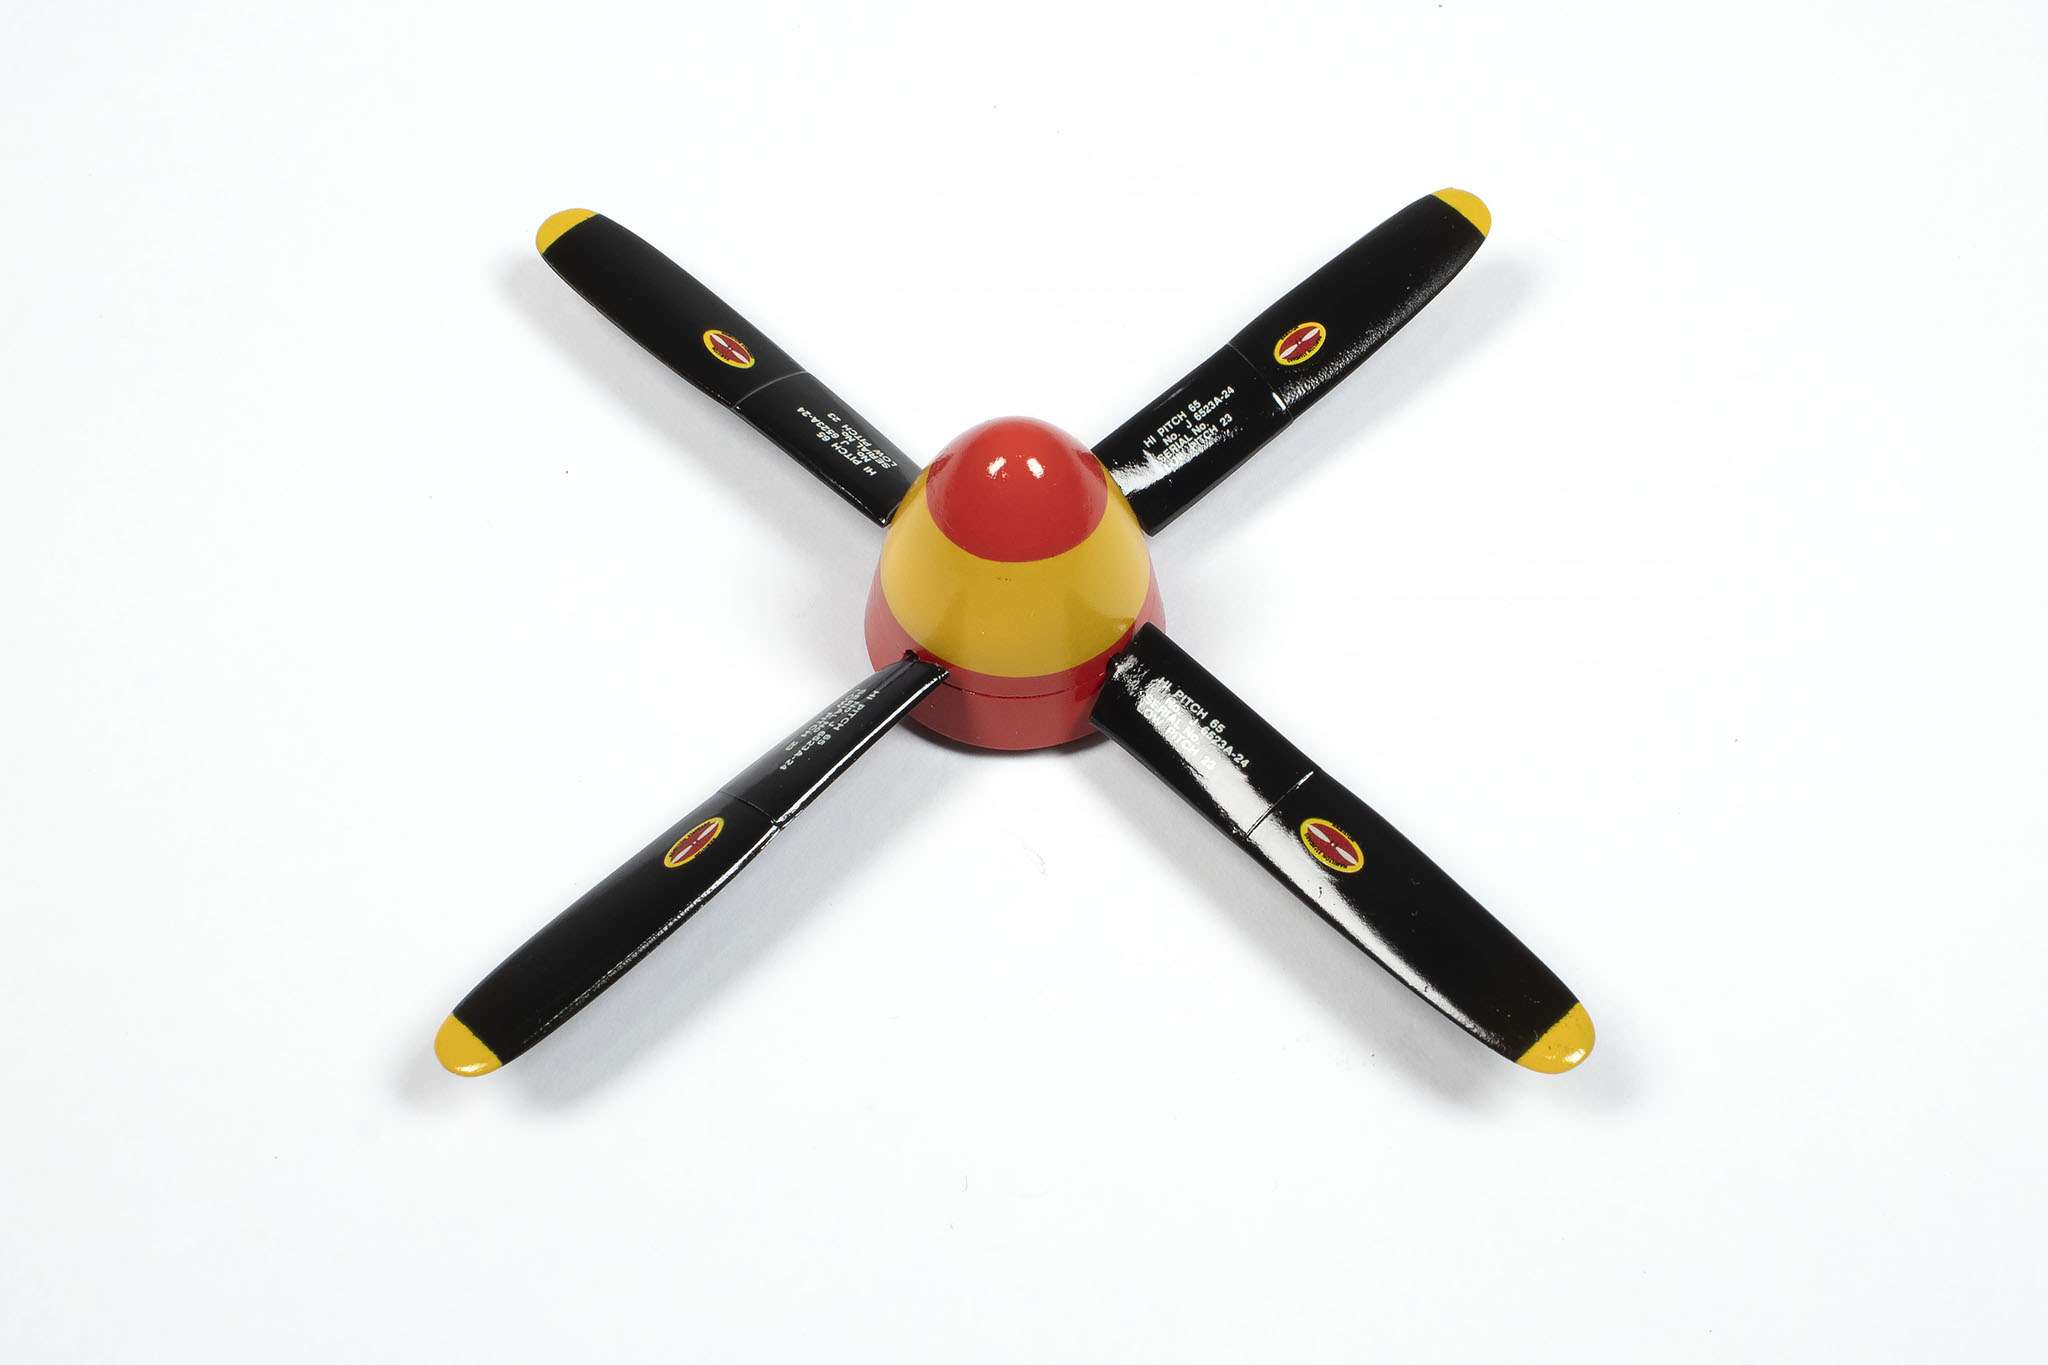
Thanks, fellas! I've done the touch-ups now, and given the area another gloss coat for protection. I couldn't resist posing the prop in place for effect:
Kev
-
4
-
-
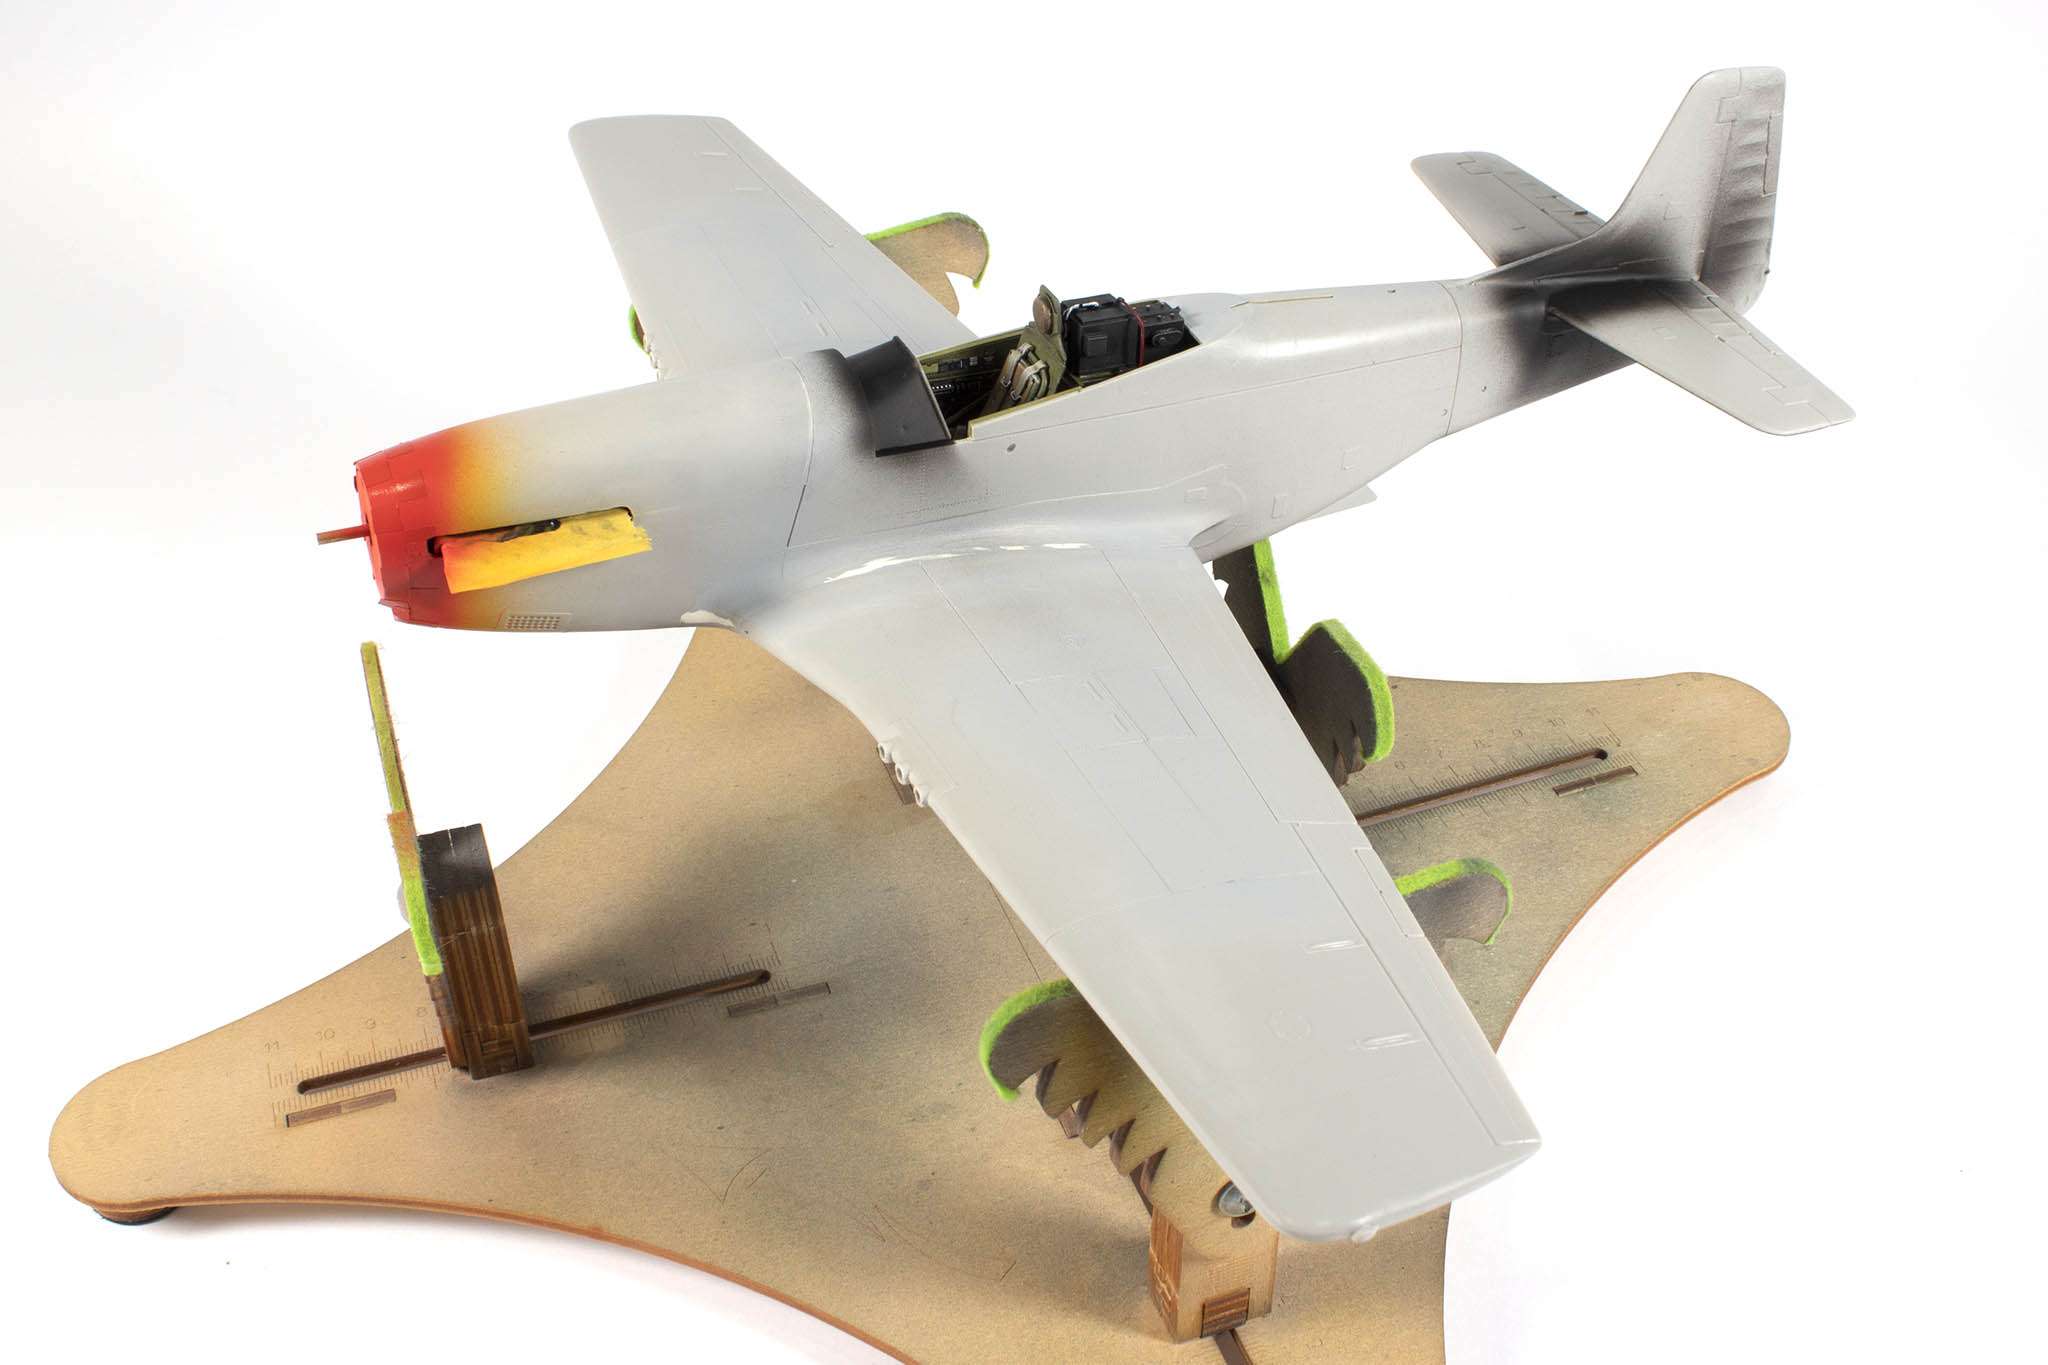
Those of you who are LSP members, or follow me on Facebook, may already be aware of this build, so my apologies for the double-up. I've now got it to the stage where I'm painting on some of the markings, and of course, cutting the required masks on the Silhouette Portrait! But first, a quick recap of the build to this point.
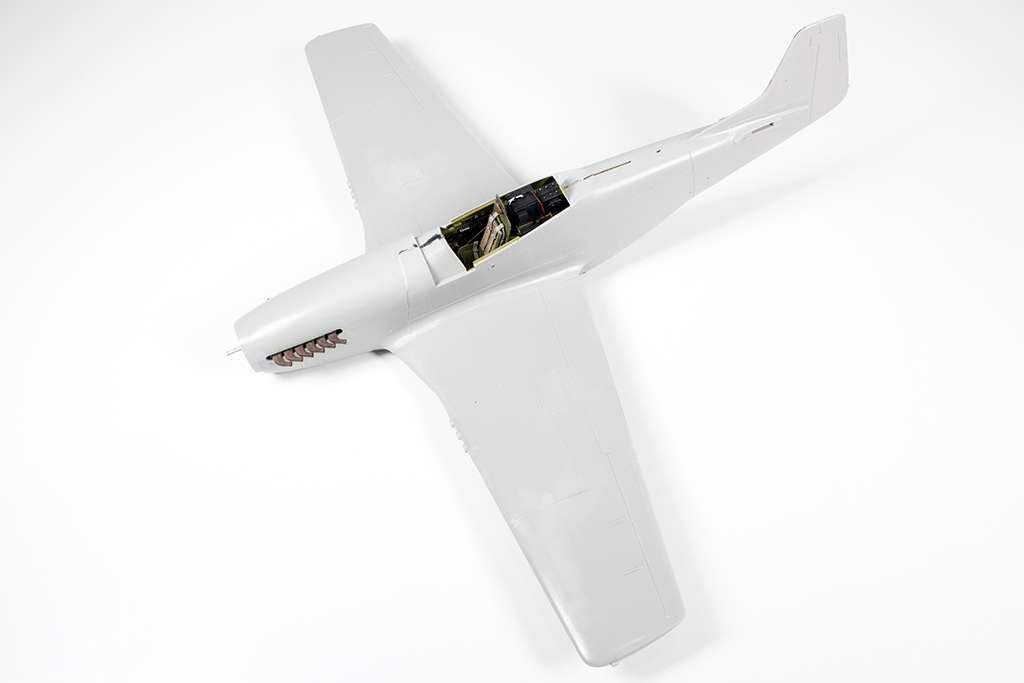
The kit was given to me by a friend a couple of years ago, and I decided to mate it up with a parts kit that another friend had sent me a few years prior to that. This latter box contained most of an entire Hasegawa Mustang kit, along with an assortment of aftermarket items and some scratch-built modifications. I decided to treat both kits as one, and use whatever aftermarket I could find in the parts box, and use it in a build of the first kit. Hopefully that makes sense! But in spirit, I wanted this to be an out-of-box build - so no rescribing!
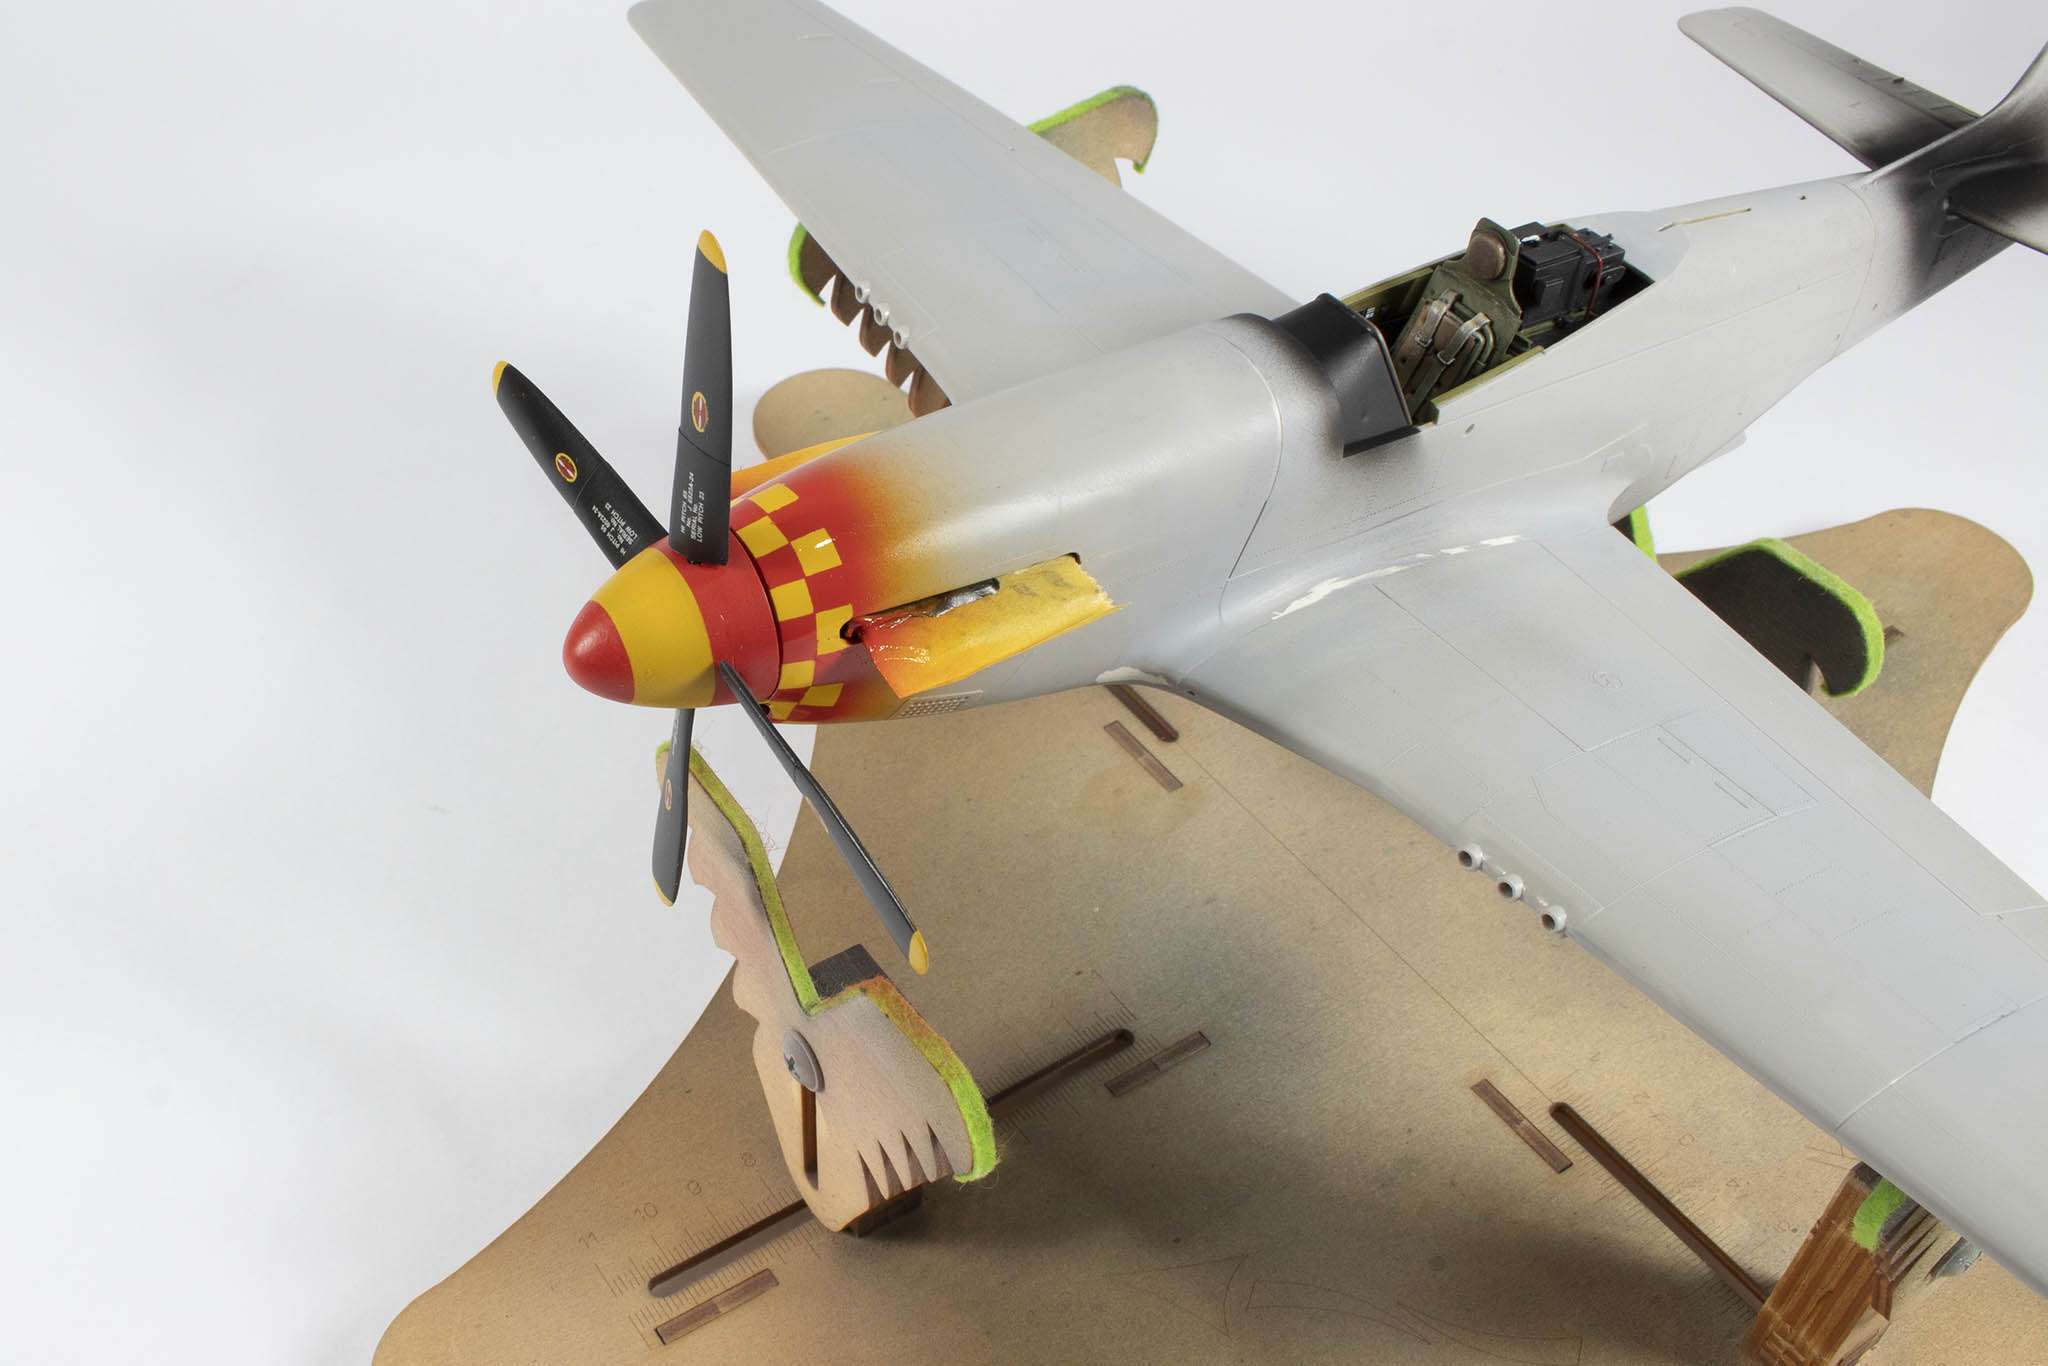
So, I started with the Grand Phoenix resin cockpit set and instrument panel:
I modified the tail wheel and fuselage mount to allow me to fit it at the end of the build:
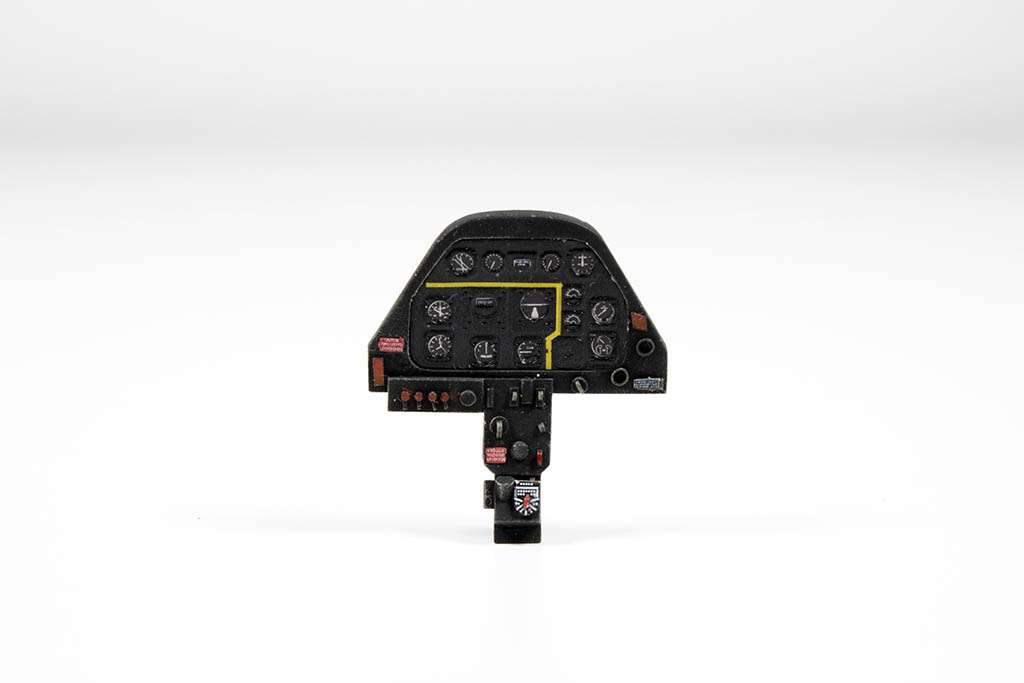
I used Moskit exhausts in place of the kit ones, and modified the engine so I could mount it onto a length of aluminium tubing, to assist with installing it into the fuselage:
The tubing also now forms the prop shaft.
Assembly from there was pretty straightforward:
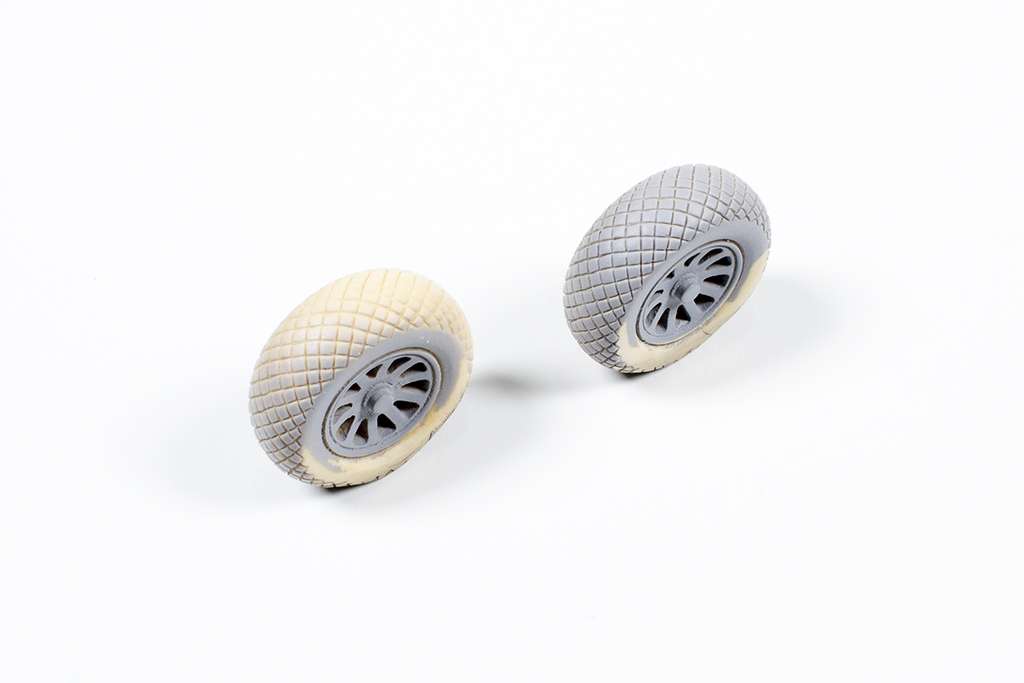
I removed the excessive bulges from the True Details tyres:
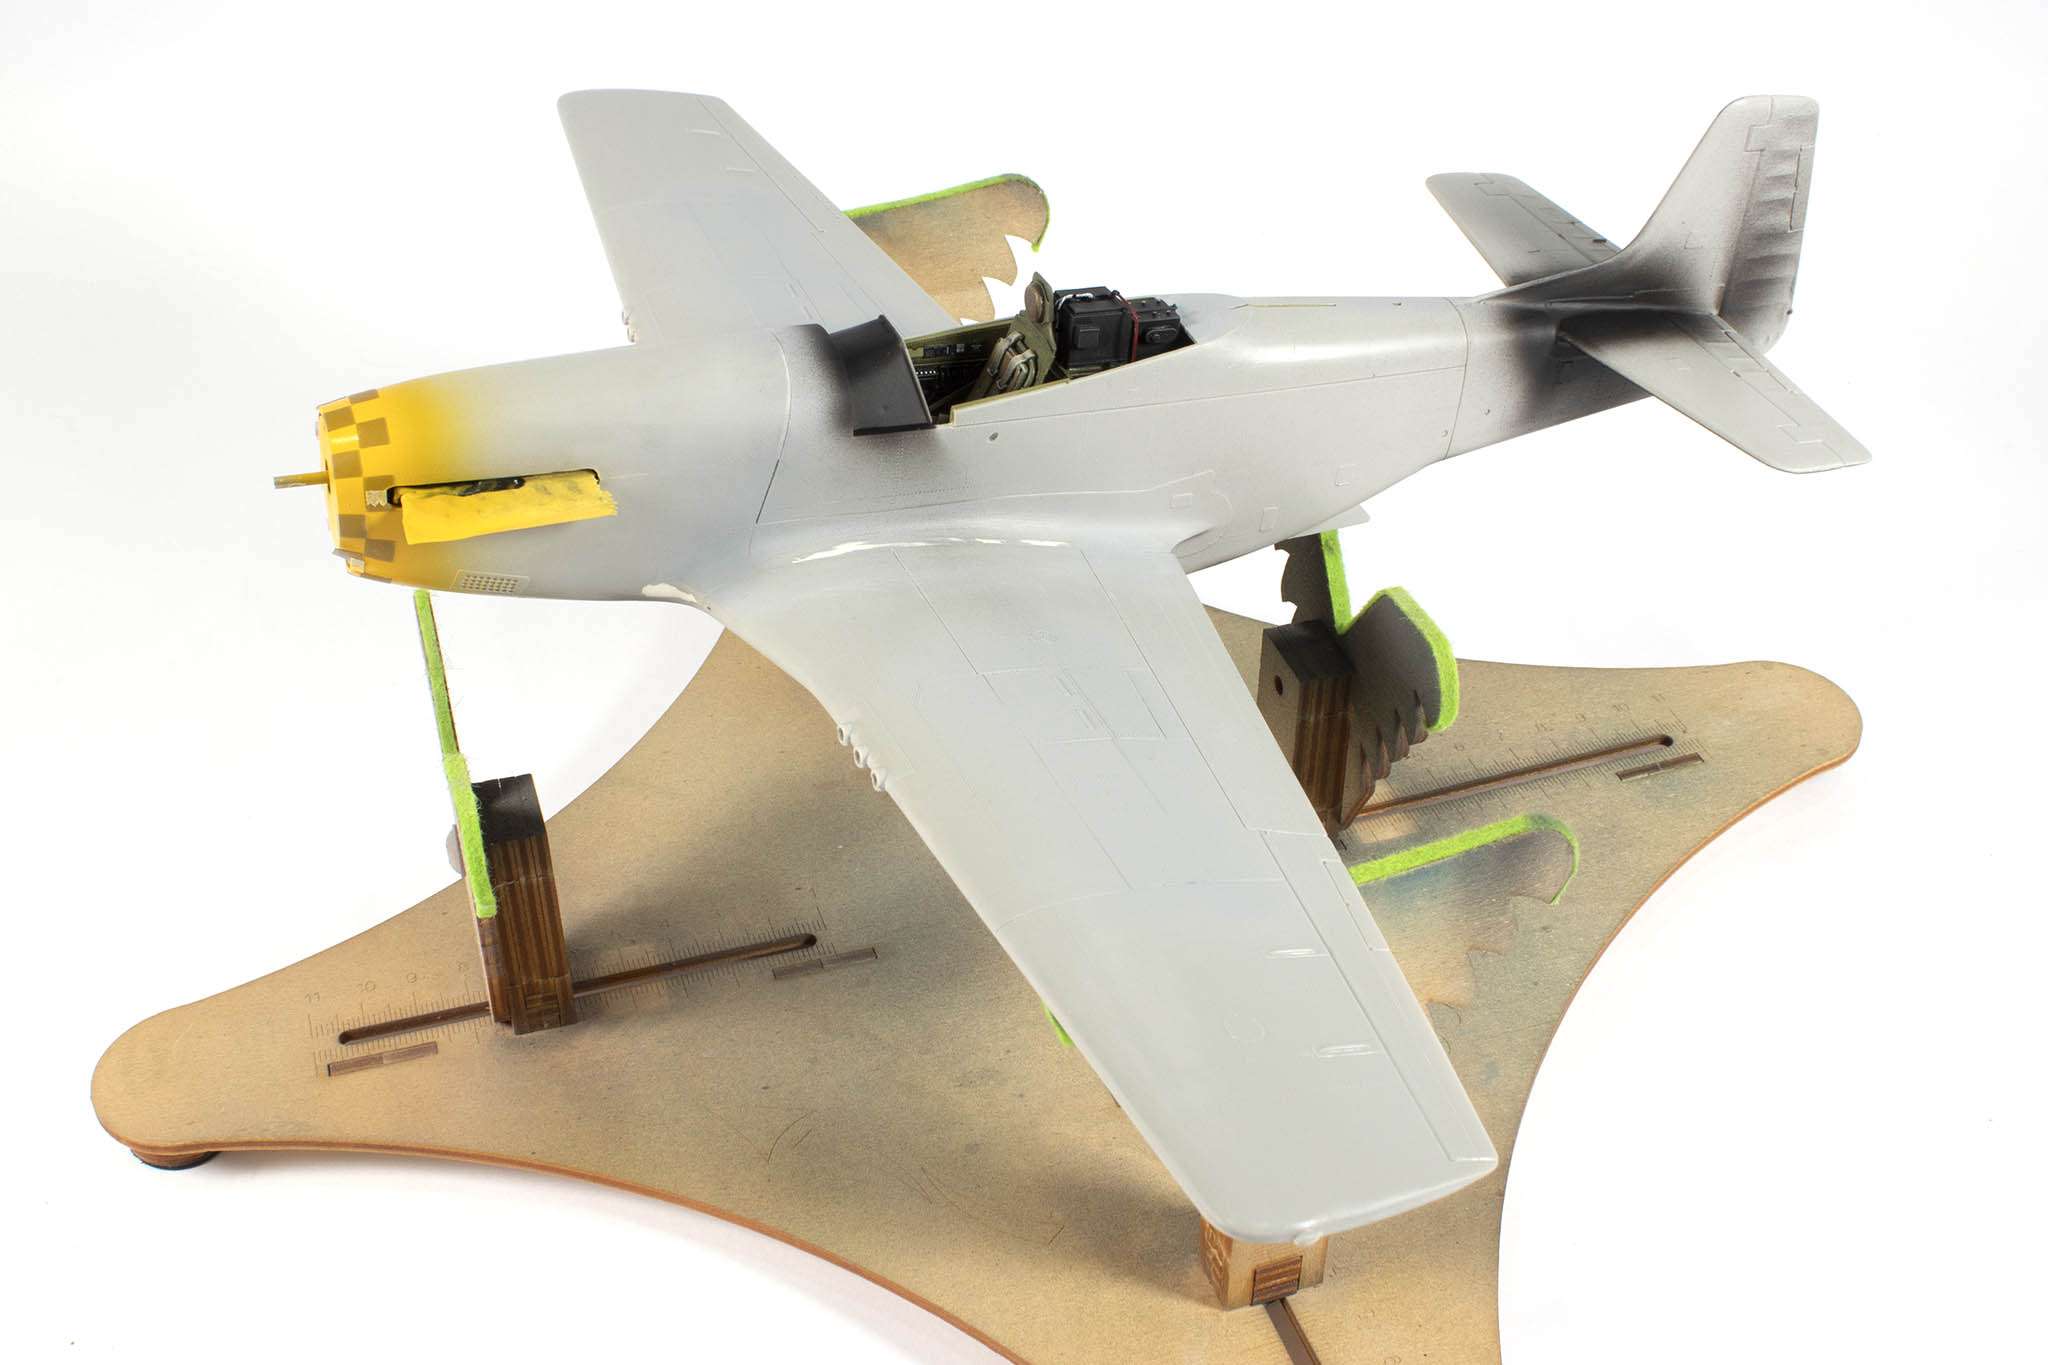
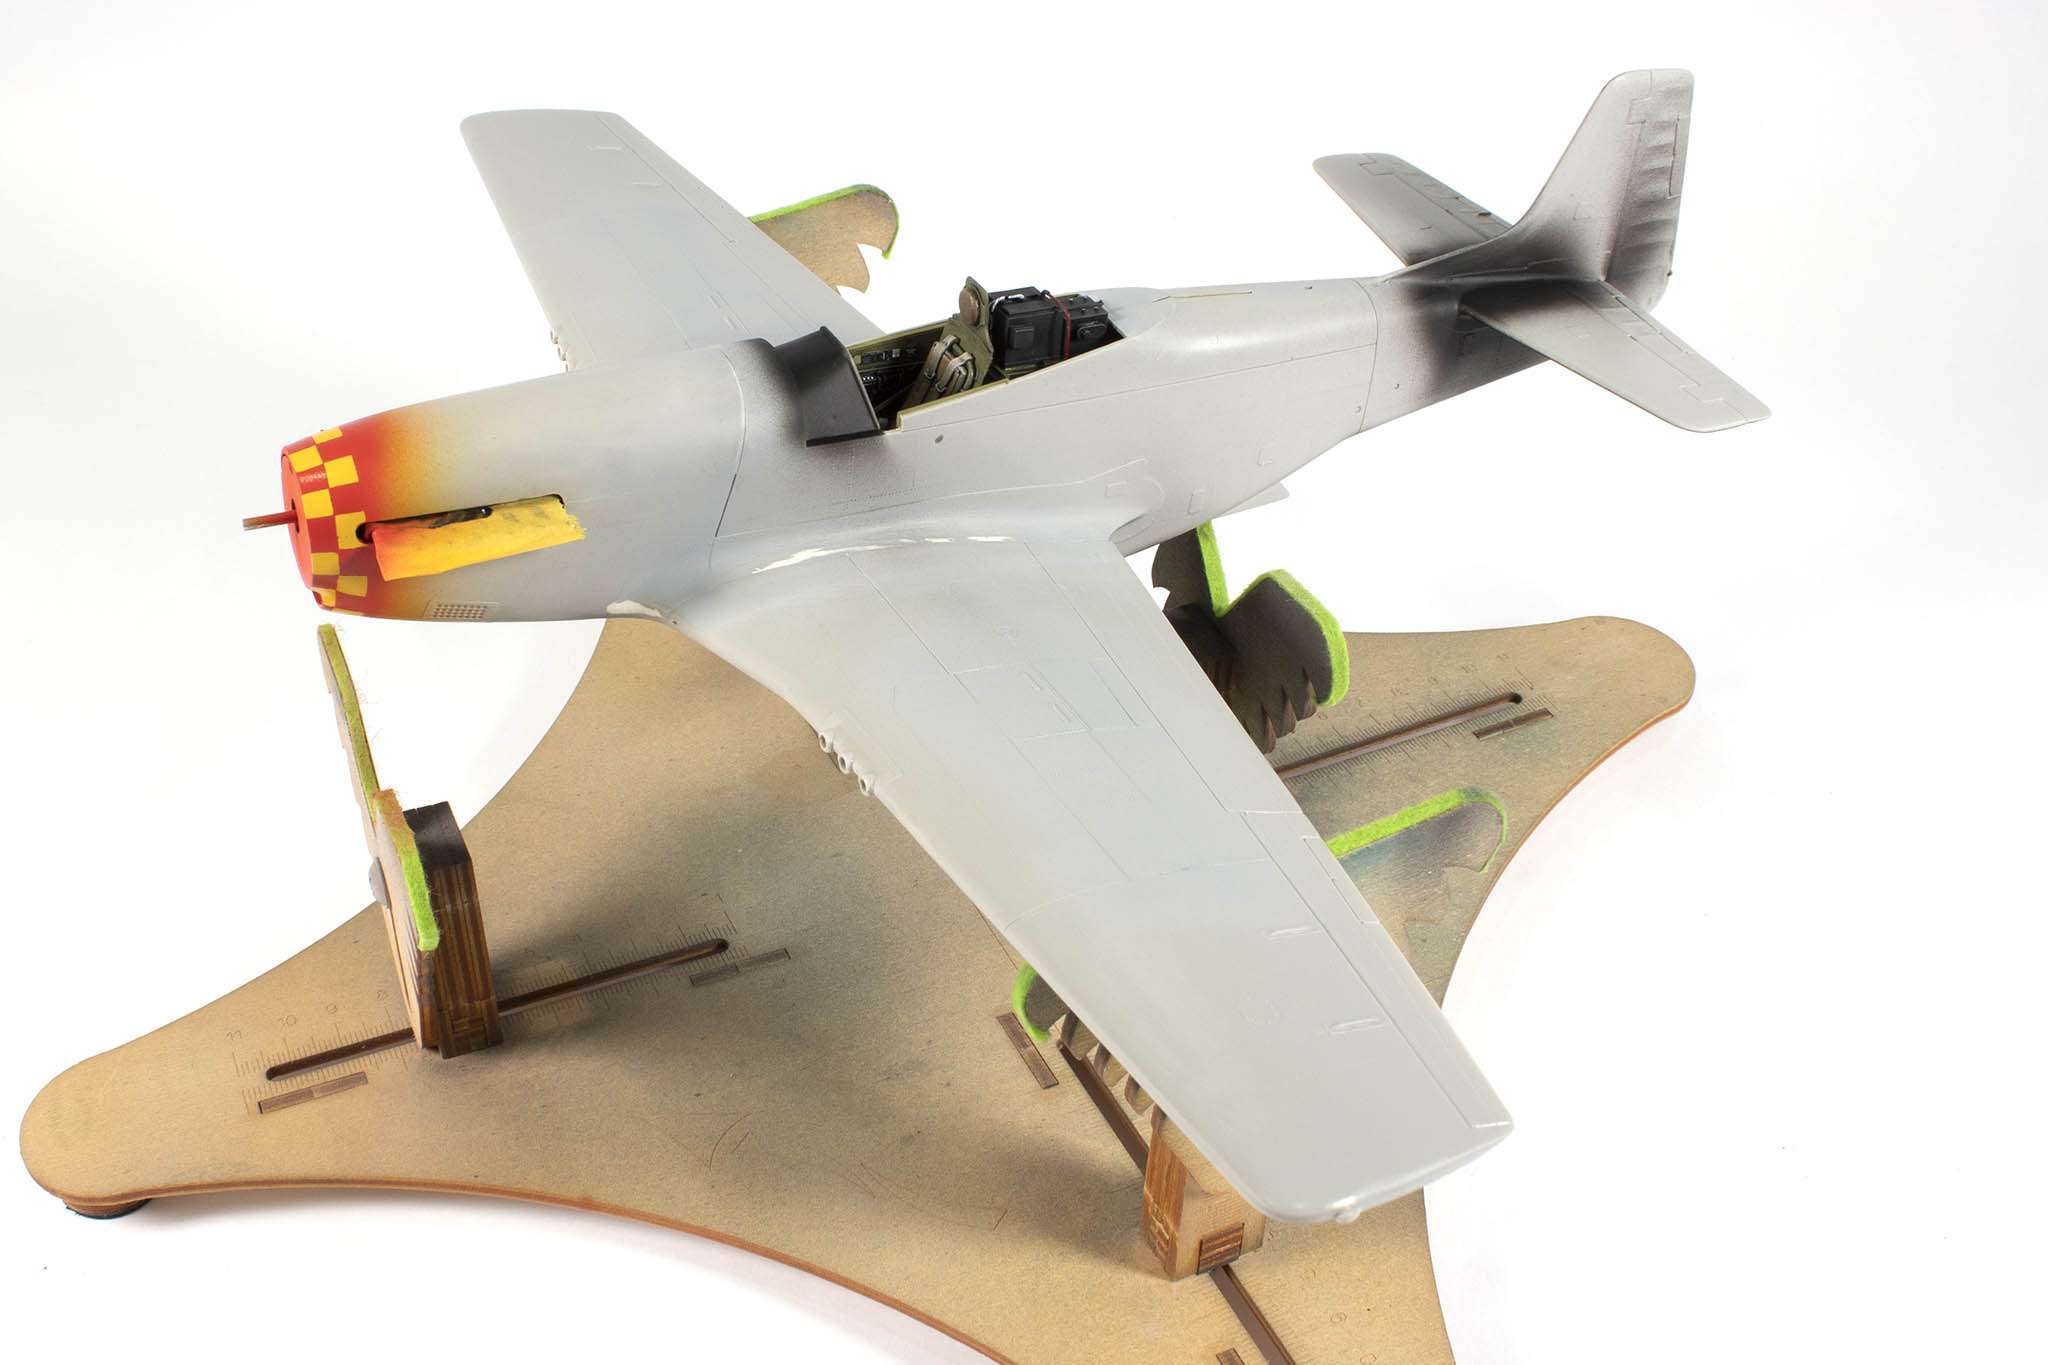
The scheme I've chosen is "Butch Baby", which is one of the schemes Hasegawa provides in the newer of the two releases I have. This has red-and-yellow stripes on the spinner, and similarly-coloured chequers on the nose. I had a lot of trouble masking up the spinner, and I'll spare you the gory details, but I got there in the end:
This brings us up to today's update: masking the nose chequers. In preparation for this step, I scanned the kit decals, prepped them in Photoshop, traced them in Silhouette Studio, and then cut them on the Silhouette Portrait:
Note that I'll be using commercial masks for the national markings, and the kit decals for the aircraft name and any relevant stencils. If anybody wants a copy of the cut file, I can upload it here, but it's a bit wobbly in places, and probably needs to be re-drawn from scratch. I cut two copies so that I could test them on a mule, before I commit them to the final model.
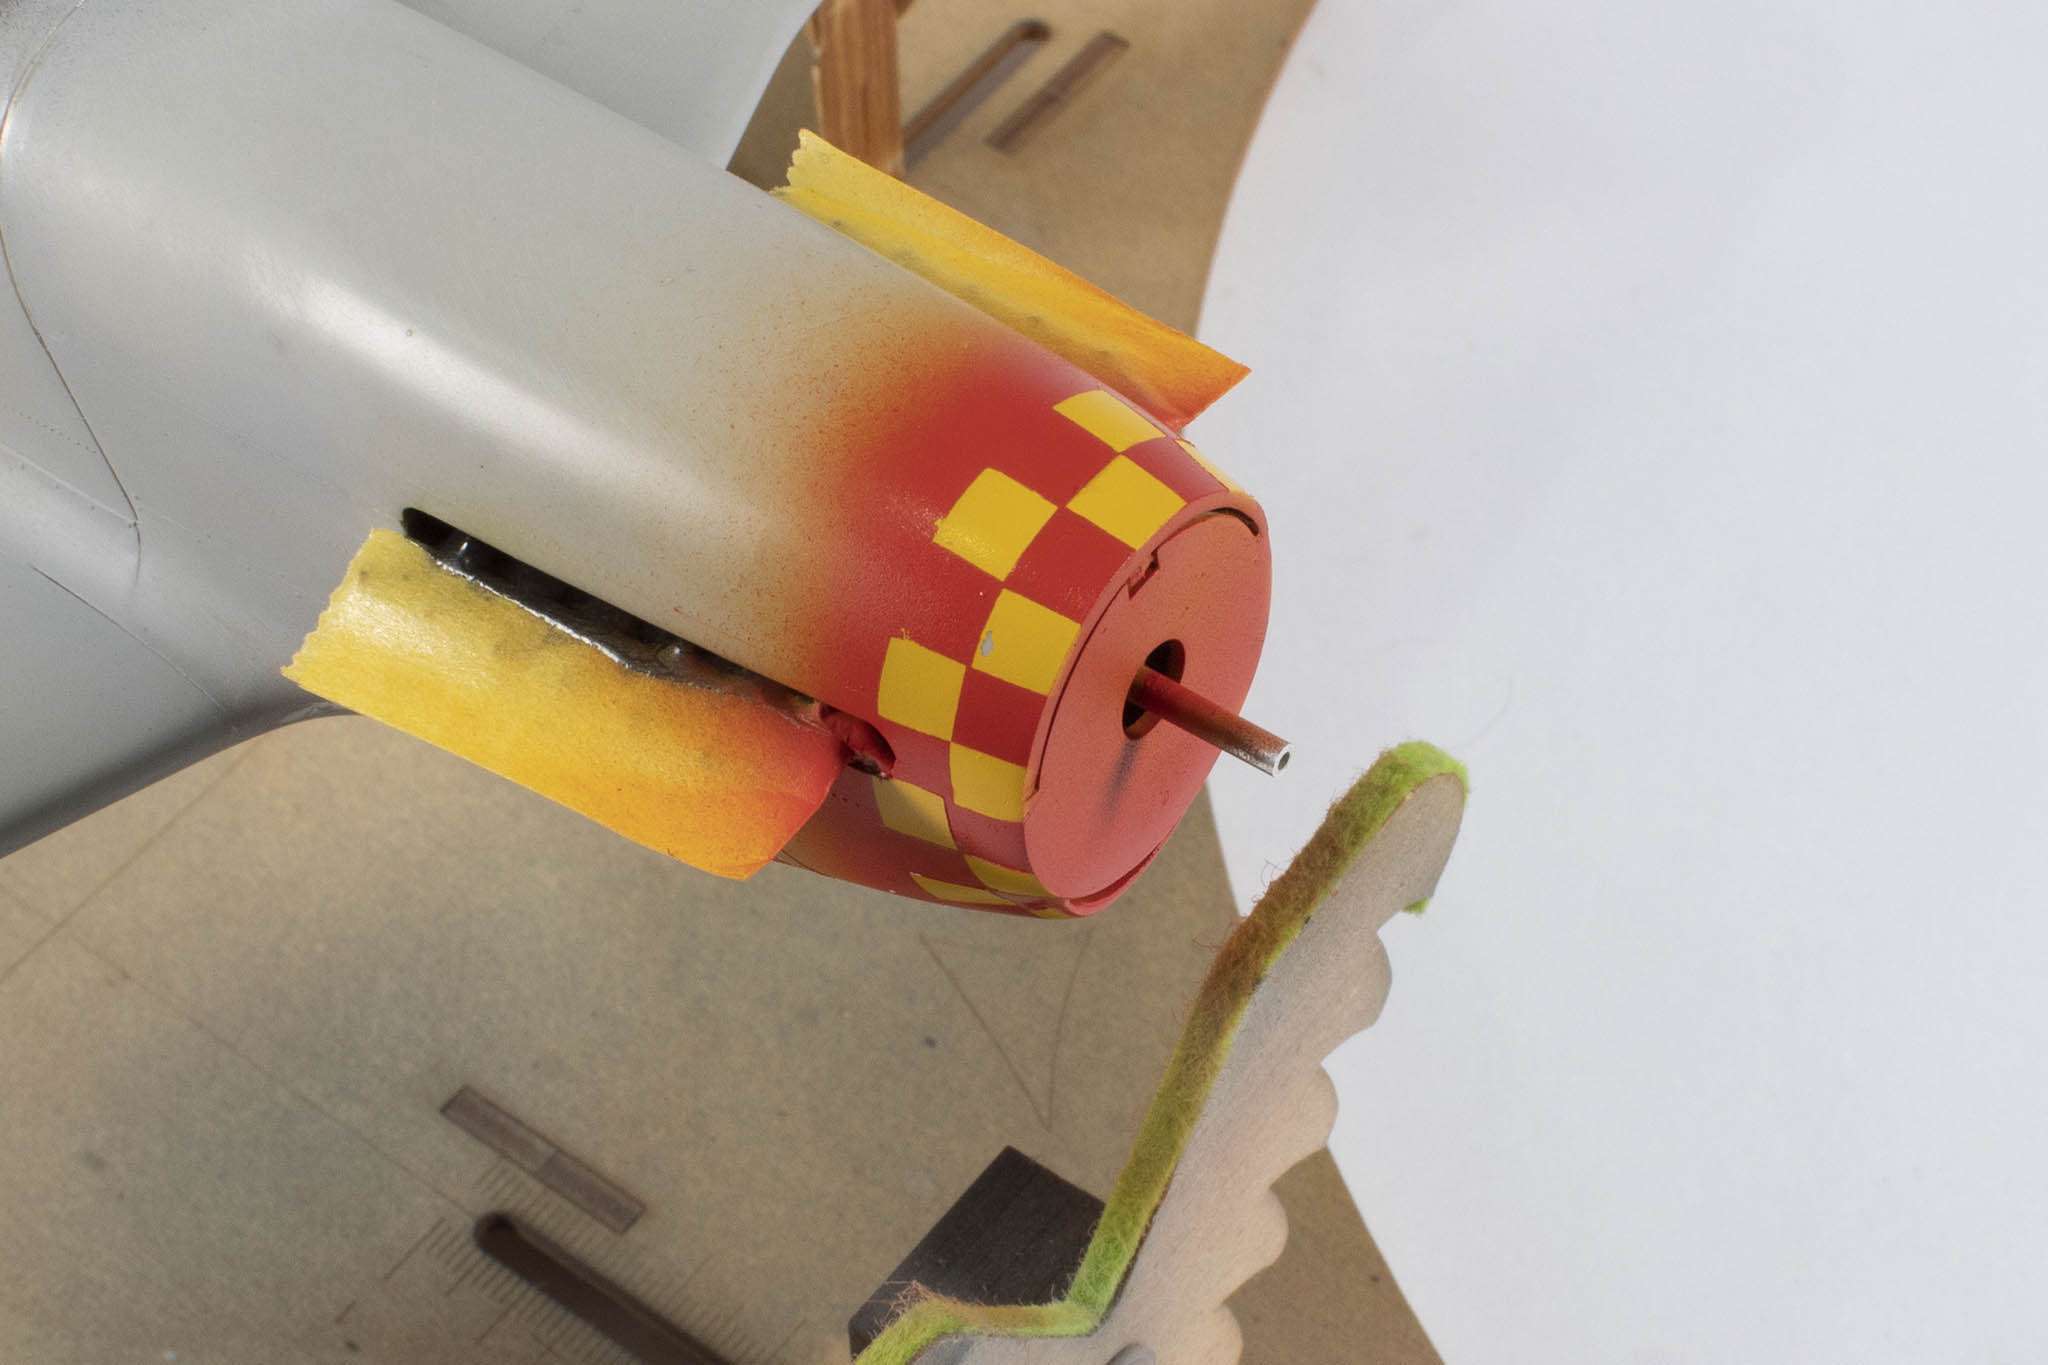
I forged on ahead with the chequers, however:
SMS Red next:
And unmasked:
Not bad! But certainly not perfect. Oddly, the vinyl mask managed to lift off a divot of the yellow paint in one area, which I definitely was not expecting:
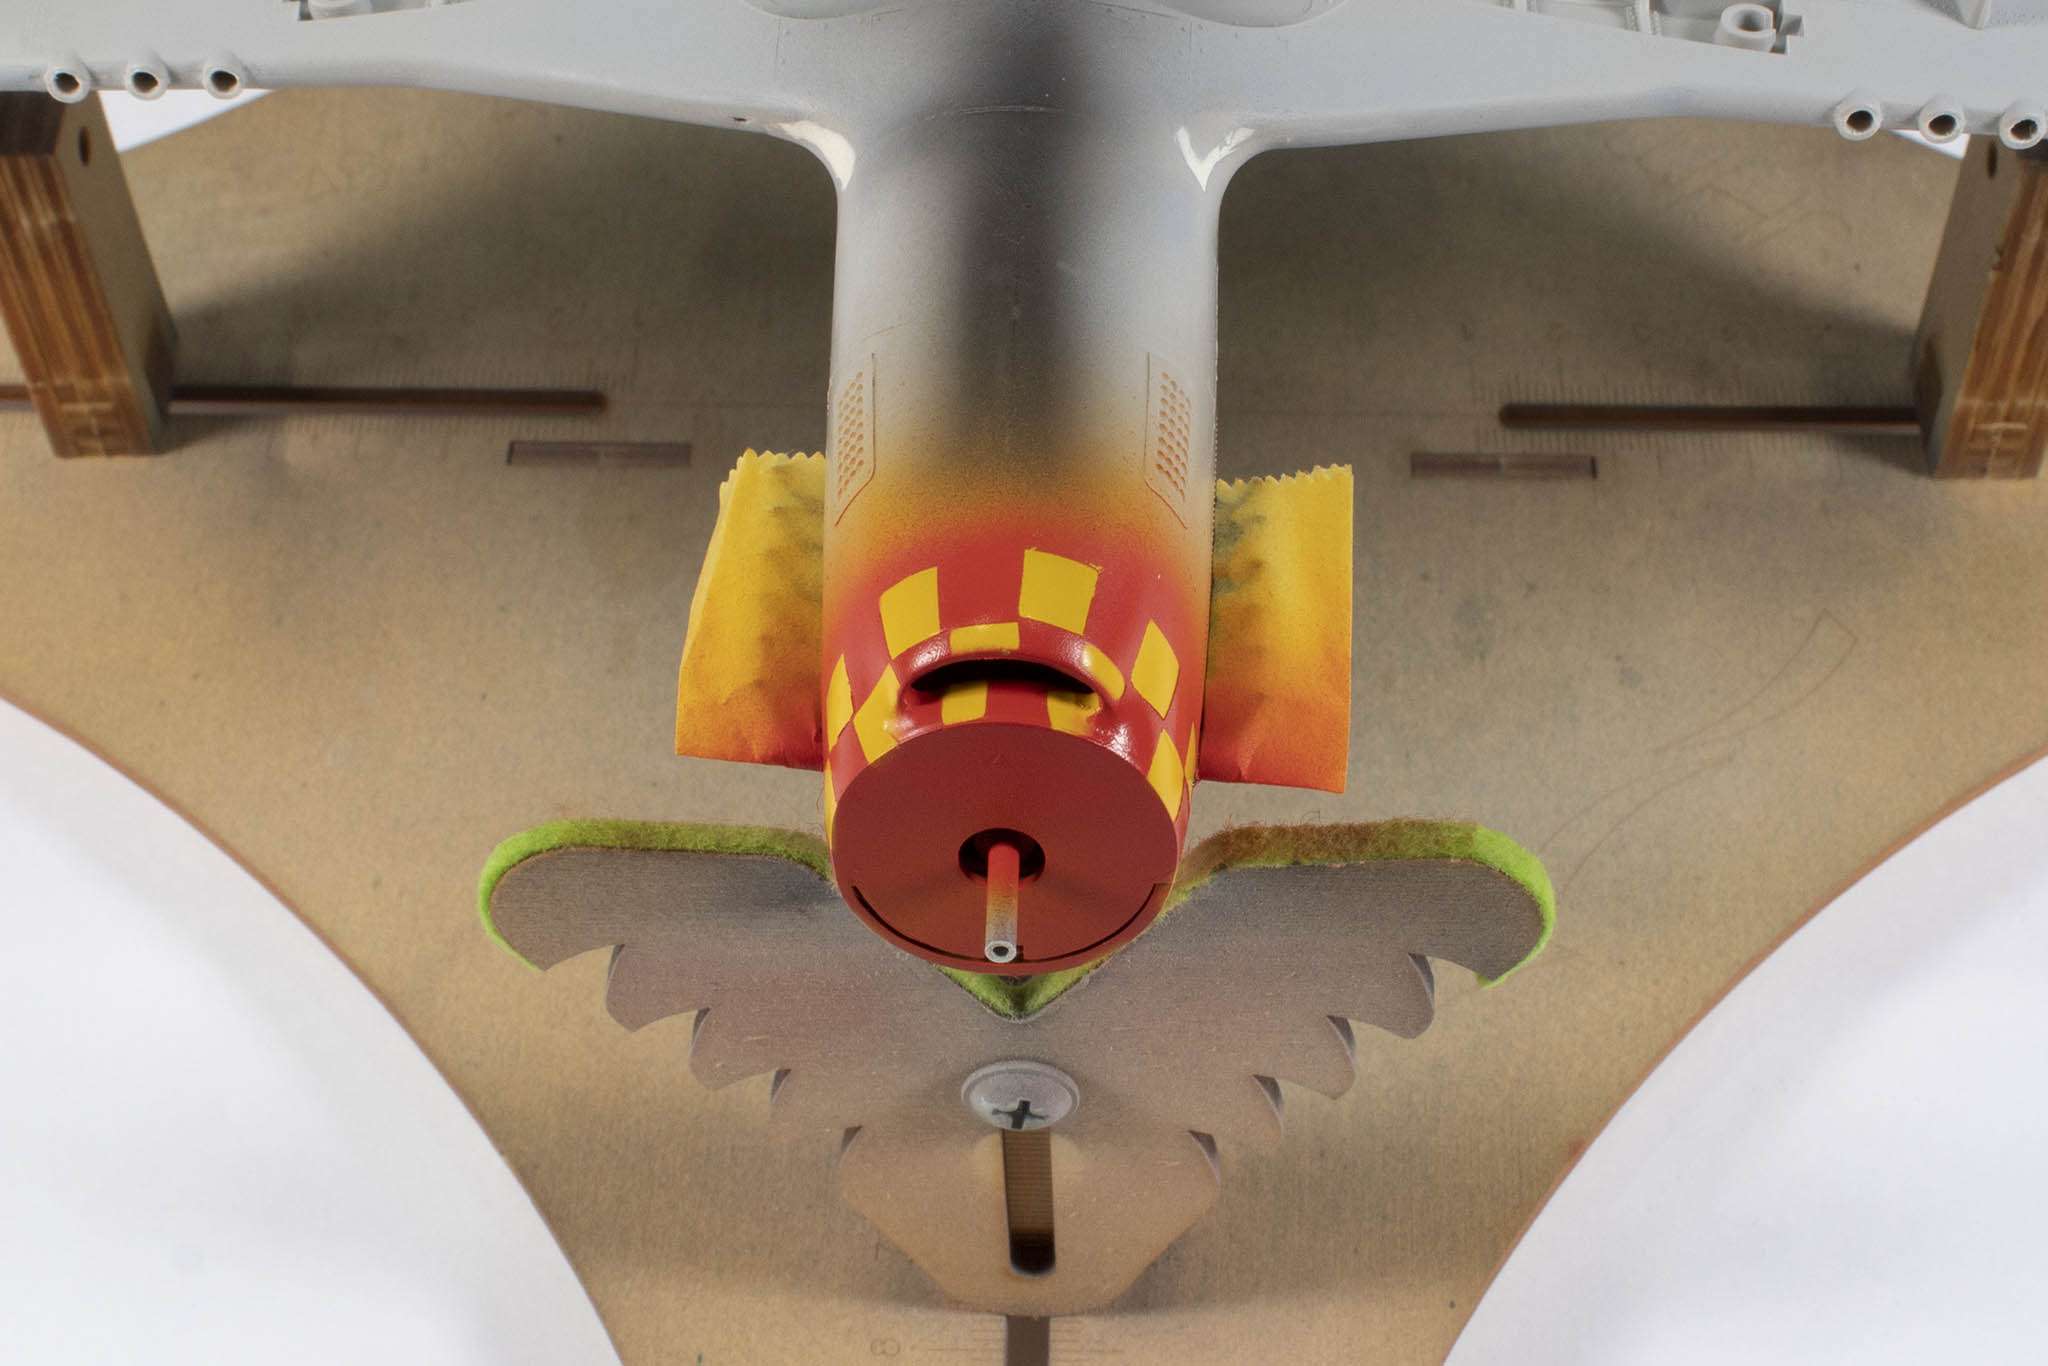
What I was expecting, however, was that the vinyl masks wouldn't conform all that well around the chin intake area, and I was right about that:
I'll re-mask this area with Tamiya tape and go over it, but since the red seems a little fragile, I'll be laying down a couple of gloss coats before I do.
Overall, it's a little untidy, but definitely in the ball park. Hopefully for the next update I'll have it all tidy and masked up ready for the main paint job.
Kev
-
3
-
-
Welcome aboard, sir!
Kev
-
1
-


Littlebigman introduction
in Introductions
Posted
Welcome aboard, sir!
Kev