


GazzaS
-
Posts
10 -
Joined
-
Last visited
-
Days Won
5
Content Type
Profiles
Forums
Events
Downloads
Posts posted by GazzaS
-
-
Hi again. This test was done with ALTENEW brand masking paper. Got it from a place in Tasmania... That's where my wife comes from too, incidentally.
Anyway...
The first cut was far from promising.

I made 8 examples and decided to push through and see if I could make a decent representation of the text I needed.
After weeding, my mask looked like this:
was
I didn't do a perfect job of weeding, and I think my my blade setting of (1) might have been better at (1.5)... if you can set it there. Now... I have never messed with the cutting settings of my silhouette portrait. Everything is still the way it came out of the box.
Here is it painted on a very new paint mule.
My poor weeding shows, but you can see that my hasty job isn't too different from the decal below.
The main difference between the paper stencil used here and the Oramask 810 I use for everything else, is the superior tackiness of the paper mask. When I cut the 8 examples in Oramask, every triangle from the number Four ended up in the little cylinder holding the knife blade. And they weren't tacky enough to
hold on in the face of airbrushing. Whereas the center of the numbers and letters of the paper masks were tacky enough to be attached to the model after the main body of the mask, and stand up to airbrushing.
I've included the ruler for scale... But I think I can count this as a minor victory. If anyone can give me some ideas about messing with the cutting settings... I'm all ears.
-
 2
2
-
-
12 hours ago, Kevin Futter said:
Tamiya does sell its famous masking material in flat sheets, but I haven't been able to get hold of any so far. I'm currently waiting for BNA to get them back in stock.
Kev
I have ordered some non-modelling specific material available here in Aus. If I have any success with it, I'll post. Might be wasted money. I have heard the Tamiya stuff has been unavailable forever.
-
1
-
-
On 9/22/2023 at 4:33 PM, Mozart said:
I understand completely your problem Kev, had the same issue with swastikas with narrow white outlines in the past which is why I went for the two mask solution.
I like your technique for the most part, but it's easy to see that alignment is difficult. Unfortunately, I'm dealing with this issue now.
1ManArmy masks don't seem to suffer from this issue. Their masks are re-usable paper masks which cover every stencil and marking on the plane. Is there any paper masking material out there for the hobbyist?
Looking on Google shows some opportunities for paper masking materials with backing... but which one to choose?
-
HI everyone,
I joined this forum a long time ago, but it kinda fell by the wayside due to too much time spent on Farcebook. Here are some of my completed models which I painted while using masks cut by my silhouette portrait.
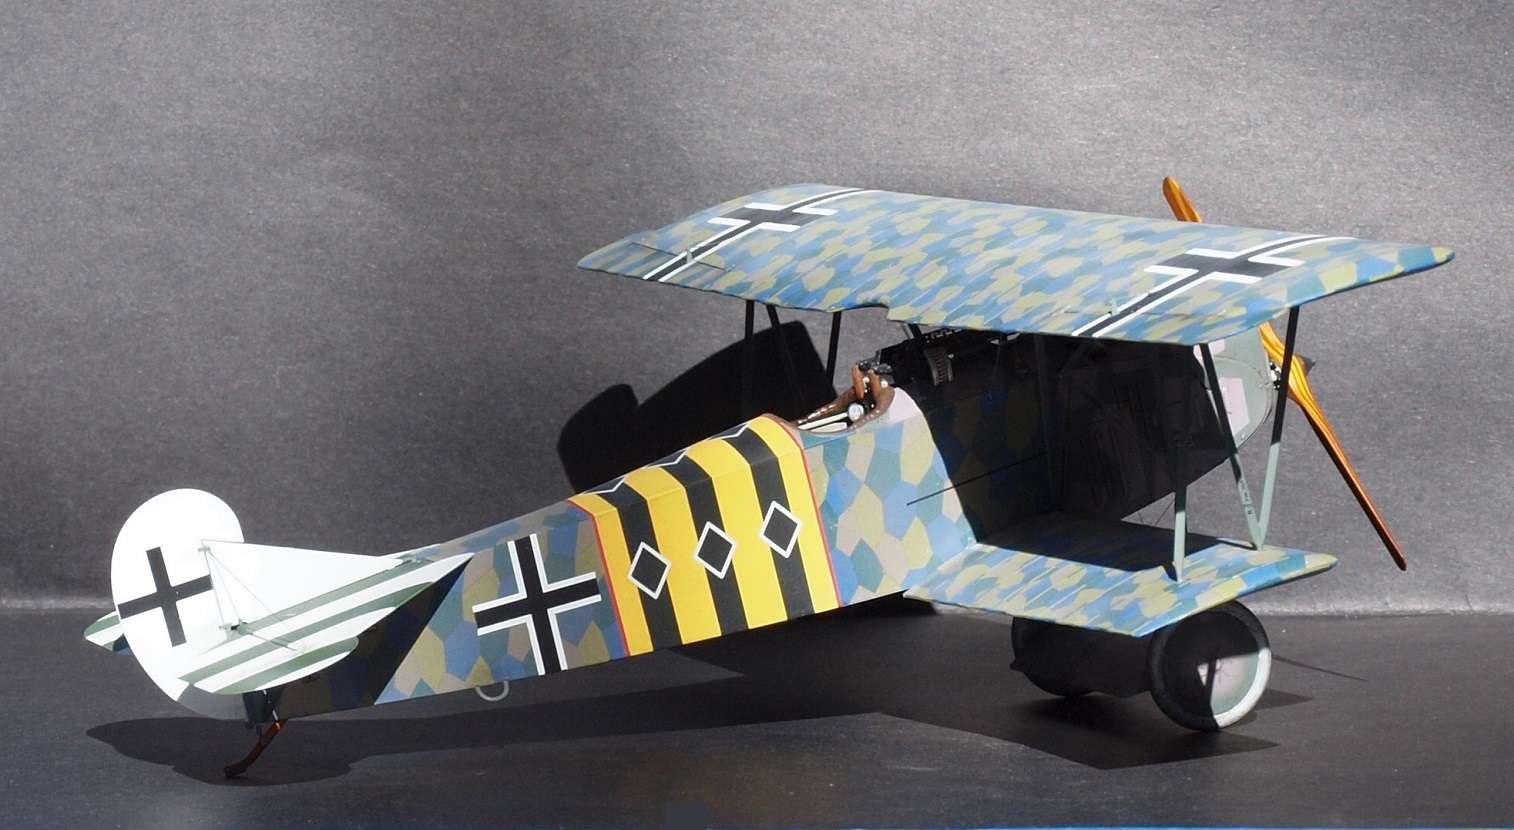
WNW Fokker D.VII.
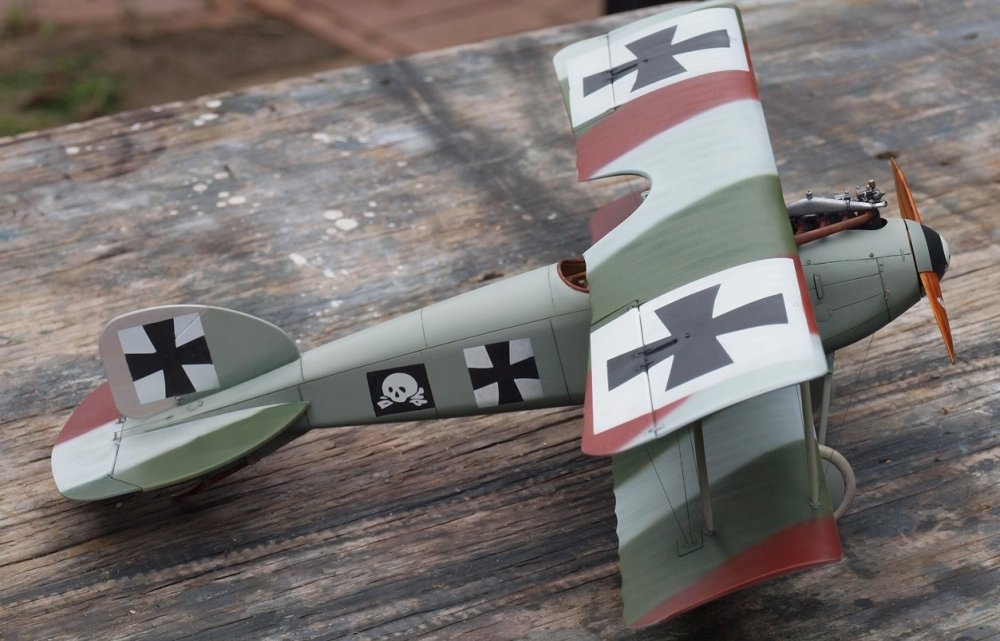
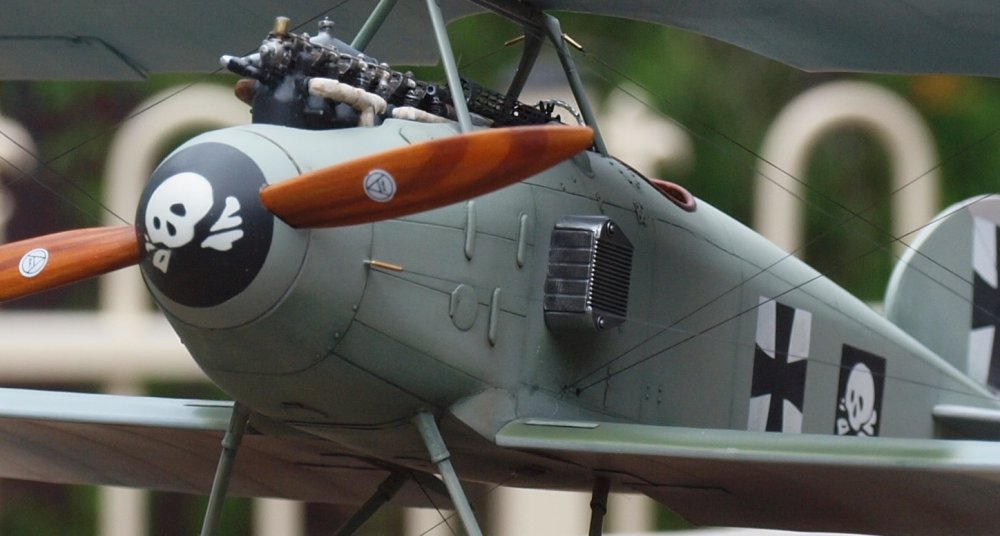
Roden Albatros D.I
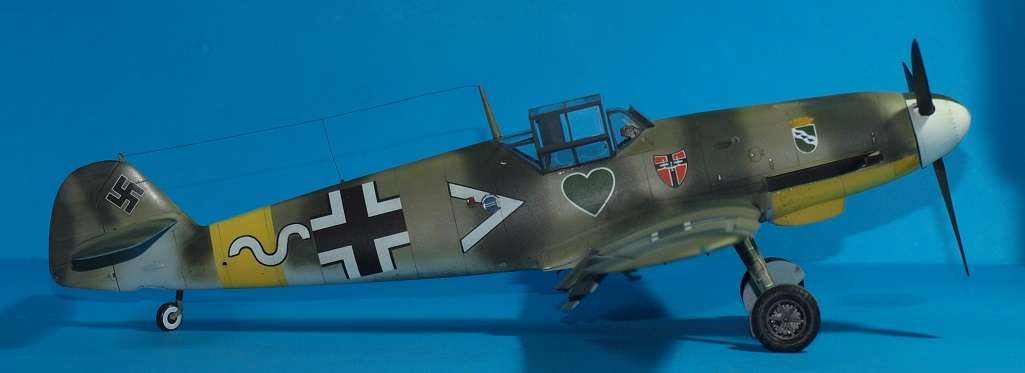
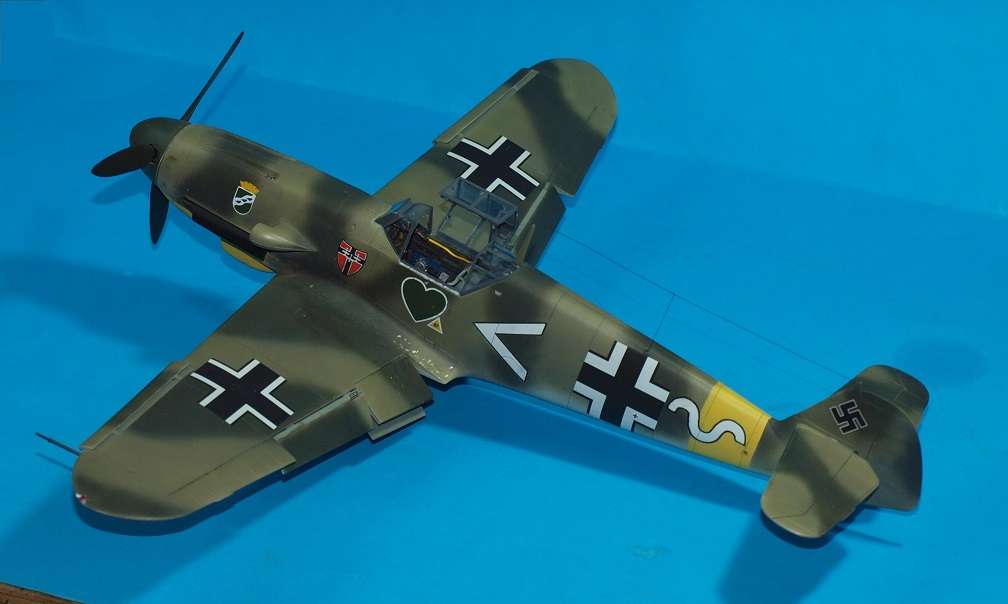
Hasegawa Bf 109F4
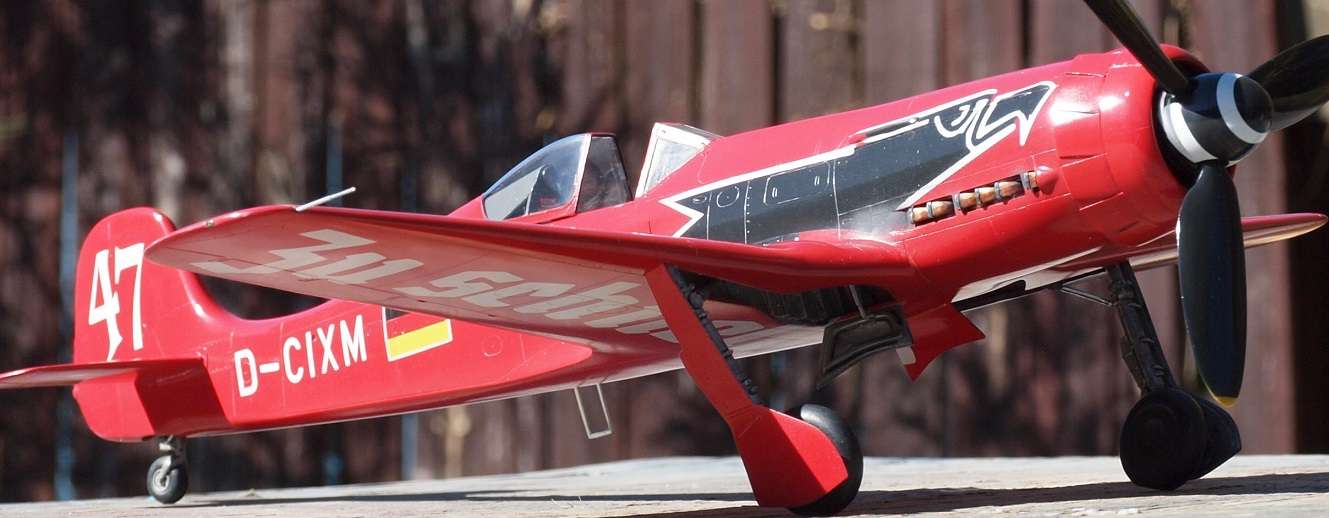
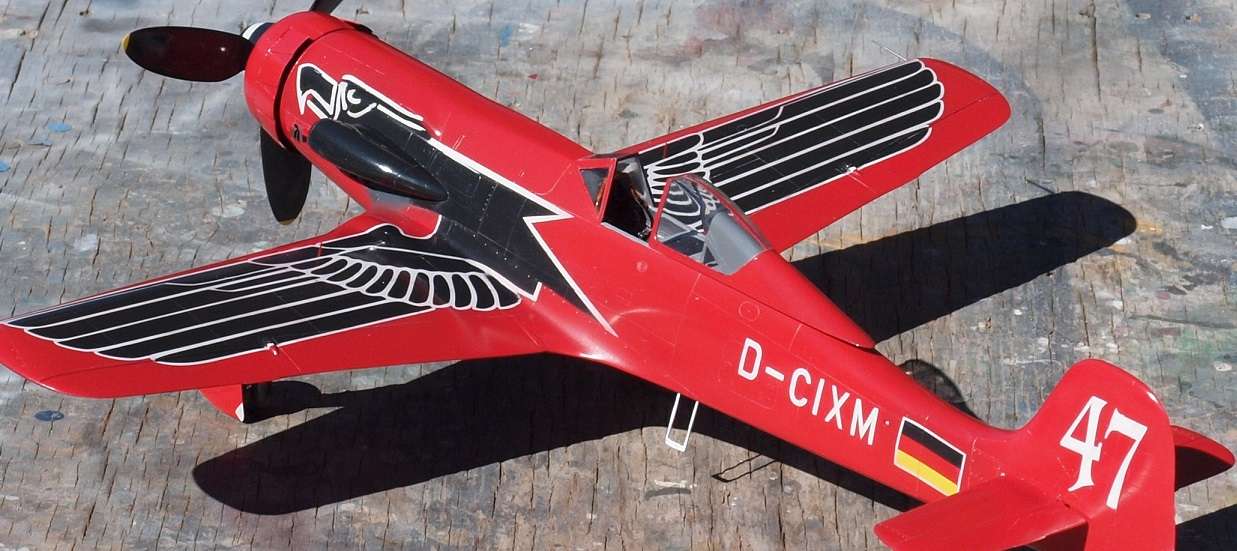
PCM TA 152C
And finally this 1976 vintage Revell Bf 109G6 that has been modified by a few Trumpeter parts.
Thank you for looking!
-
6
-
-
Well done, Kev! You are now freed from ever needing large decals again.
But there is no way to escape stencils.
Gaz
-
2
-
-
Hello Giuseppe!
-
1
-
-
8 hours ago, Mozart said:
Hiya Gaz, glad you found us all!
MaxHi Max,
Glad to see you here.
Gaz
-
1
-
-
I have Frisket film, and I have Cricut Transfer tape which is clear... The Frisket film is much tackier than the Cricut Transfer tape. Given a choice, I grab the Cricut.
-
2
-
 1
1
-
-
Hey y'all,
Just found out about this site today. I've had a Silhouette Portrait for about 2 years now and done small and large masks for various scales. Looking forward to participating.
Gaz
-
3
-

 was
was


Text Issues with Silhouette Studio
in Q & A
Posted
Thank you for the tips. I'm not a prolific mask maker by any stretch and I've had my Silhouette machine for 2 or three years. I'll play with it next time I get a chance and see if I can't get a better result. If playing with it doesn't help, I'll attach my spare blade. I'm thinking, the best way to do these fine masks would be a laser cutter. But I know next to nothing about them and have seen a wide variety in pricing. One thing I learned in watching videos yesterday, is that you can't use many materials because the heat causes toxic off-gassing in some... so no oramask.