
denders
-
Posts
93 -
Joined
-
Last visited
-
Days Won
37
Content Type
Profiles
Forums
Events
Downloads
Everything posted by denders
-
-
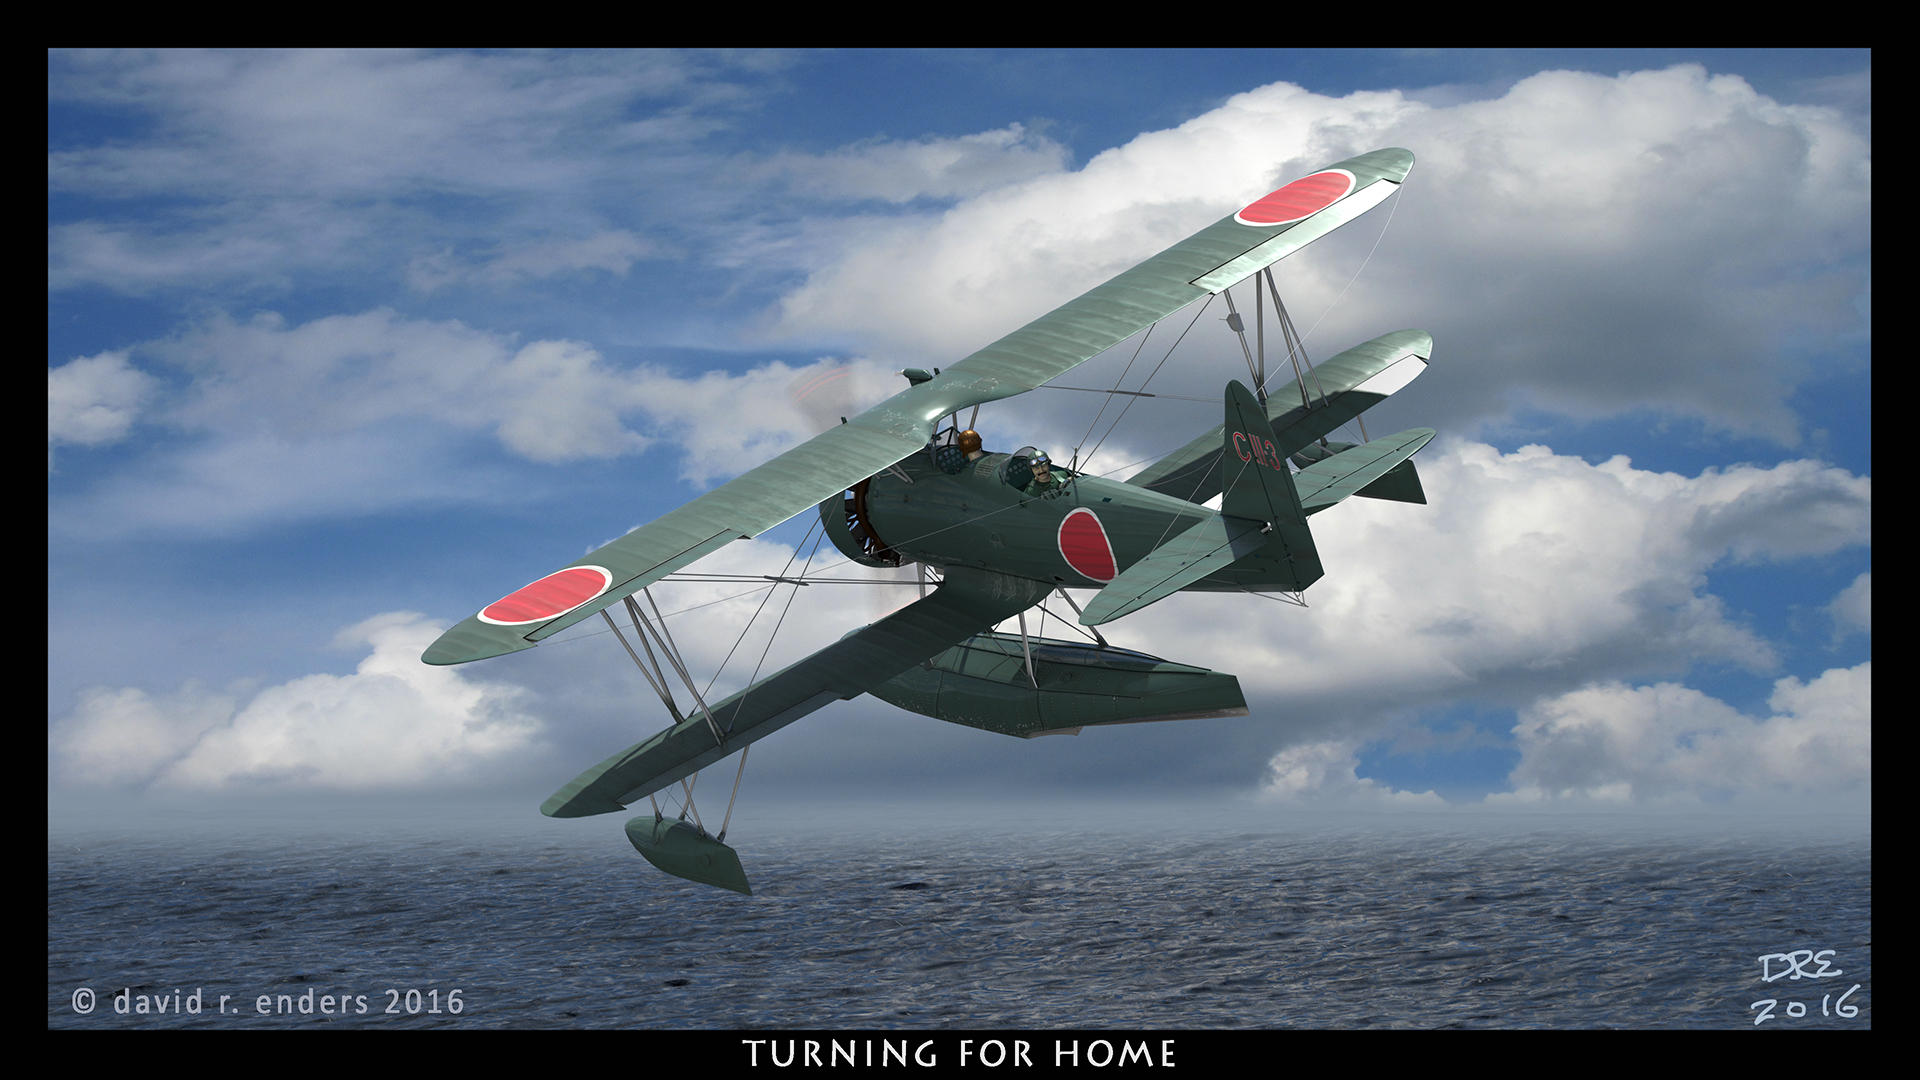
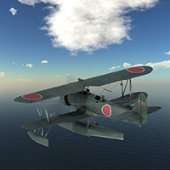
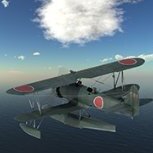
Hasegawa P-51D Windscreen (1/32) View File Windscreen Masks for the old Hasegawa P-51D Submitter denders Submitted 04/15/2023 Category Aircraft - Military
-
I haven't seen the F-16 canopy from that kit, but from what is sounds like I would create strips that follow the edges of the canopy and use tape to fill in the rest. Like this: And I just used the same pieces on the inside too. The canopy isn't that thick, so it didn't seem to need to be shrunk. Dave
-
I have AutoCAD on my notebook computer from doing consulting work after I retired. Then export a dxf file. I find it easier to create with that over the Silhouette Studio software. Although I use Studio for other simple things too. I've also used Affinity Designer (similar to Illustrator) to trace things too. Then export is as an svg file. I use a caliper to measure distances estimate radius diameters, etc. and draw the pieces. Sometimes a circle template is useful for radii too. Then save as a dxf file and import into Studio and cut a set. I then check how each piece fits and make adjustments. Most pieces without curves take at most two iterations. Pieces with curves may take one or two more iterations. Dave
-
Well, that was easy. 😉
-
I've no idea where you're located, but this is the frisket that is being spoken of. Search (midwestairbrush.com) Dave
-
NP, Gene. I used .010" sheet and cut 8 circles to glue together. I used an Autoblade I used settings: Depth 3 Force 25 Passes 2 Speed 6 (I forgot to change it slower) The circles weren't cut all the way through and I had to finish them with a scalpel. Probably affected by the speed. I could have set the depth to 4 too. Supposedly each increment in the depth is 0.1 mm which converts to .00393", with a depth setting of 3 it should have been .0118". Next time I'll try to remember to slow it down and set the depth to 4. The ring is for the cowling supports (12) as highlighted in this photo.
-
I have some sheets that are from Tamiya. I probably picked them up from SB. I haven't used them yet. There are plain sheets and sheets with a 1 mm grid on them. Dave
- 1 reply
-
- 2
-

-
And it just occurred to me that I was mixing up measuring units in my first post. The blade depth, IIRC, is tenths of a millimeter. So, using the idea of my post above this one, I would need to go all the way to depth 9 to get a clean cut through, theoretically. 😉
-
Thanks, Gene. I'm definitely going to have to experiment with it. Hmmm, thinking about it, if I use an auto blade, set the first pass at depth 1 and make perhaps a couple of passes. Then without removing the material from the cutter, run it again with a depth of 2, etc. I'm wanting to cut two 1/16" wide rings with a 1.25" OD. Something to work at. Dave
-
Has anyone used their Cameo to cut 0.032" styrene plastic sheet? I've seen where some folks have cut 0.010" sheet. I'll probably try using a manual blade set to depth 4.
-
Thanks Gene. I don't remember where exactly, but someone pointed out that Ctrl-E will join them.
-
 I have a Cameo 4. I cut the necessary size piece of material and stick it to the cutting mat. I don't use the roll feed. Over time, the stickiness of the mat will reduce. I use a Blade Depth of 2, Force 6, Speed 5. That should work for 810. Dave
 -
I've been using Artool Ultra Mask. I think it works well and I've been buying it in a 9.5" wide roll. That should work in the Cameo if you're wanting to use it by the roll. I've been preferring to cut pieces and using the sticky mat, that way it's less likely to move around. I have some Oracal 810, purchased from Oramask® 810 Stencil Vinyl – CraftCutterSupply.com I bought the Ultramask from Artool Ultra Mask Professional Masking Film (midwestairbrush.com) Dave
-
I've been using Frisket for a transfer media.
-
fonts not showing up in Silhouette studios
denders replied to snigel79's topic in Hardware & Software
I have both Affinity Designer and CS6 (old version) of Adobe Illustrator. AD will export svg files and the version of Ai that I have will export dxf files. I assume newer versions of Ai will export dxf files. You will need to upgrade to the Designer version of the Silhouette software to import svg files. You have to go all the way to Business version to import Ai files. The standard version will import dxf file. If you haven't seen this comparison of versions. Software Comparison Chart (silhouetteamerica.com) I haven't tried the font files that you're listing. Affinity has a free trial version, if you want to check it out first. I haven't looked on Adobe but I imagine they have a free trial too. Affinity is a more economical competitor to some of the Adobe products. They had been running a half off sale, but I'm not sure it's still active. Dave -
Welcome!
-
Ah, ok. Something to keep in mind. I have the Designer version.
-
See what comes up in from this link. cameo-4-en.pdf (silhcdn.com) You may have to right click and open it in a different tab.
-
Open the Layers Panel. The layer that contains the image should have two 'squares' on the left. Obviously the Eye changes display of the layer. The 'square' with nothing in it is the Lock. Try that.
-
Hi Gassman I have a Cameo 4 but in retrospect, I think a Portrait 3 would have been a better choice because it does everything I've needed to do at a more economical price. The Cameo 4 is larger (there are 3 different sizes too, big, bigger, biggest) and I've not used the full width yet. There's a second 'device' slot for another cutter or a pen, which I haven't used. If all you think you'll ever do with it is cut masks for models I think the Portrait is a good choice. One of the reasons I didn't go with a Cricut is the fact that all your files are stored in the 'cloud'. I guess that makes me a dinosaur, I prefer to have control over my 'stuff'. Dave
-
The tape, usually white, placed on early F4U Corsairs to stop fuel leaks.
-
I thought I'd drop this in here. It's how I separated the markings masks for my Hellcat project. All the markings on the Hellcat are painted. F6F-3 Hellcat [Trumpeter] - Works in Progress - Large Scale Planes The 00 masks were made using the typeface USN Stencil, AmarilloUSAF, or USAF Code. The reference photos seemed to be closer to AmarilloUSAF and sized appropriately. The stripe on the tail was Tamiya tape. And of course, the national markings were masks created in Silhouette Studio. I also created canopy masks. There aren't any decals on the hellcat model. I used AutoCAD to create these masks, exported a dxf file which was imported with Silhouette Studio. I'm familiar with AutoCAD and have an older copy that is installed on my notebook computer from before I retired. I've been slowly trying to work out how to create these types of things in Studio. I figure that at some point the notebook computer will die or at some point AutoCAD will stop working. Or I'll have to find other software to create the masks. So anyway, the first picture is what I cut for the national markings. I then sprayed white and black paint for the markings. There is a set of 00 under the horizontal tail surfaces that is black. I then installed the mask pieces for the base colors using frisket paper to hold the pieces together while I placed them. Then of course, came the blue paint. I placed the mask to protect the blue and sprayed white paint over the blue in the areas where the red paint would be. And painted the red. Then the overall mask piece to protect the markings. And of course, after all the painting was done and masks removed. I preferred to start with the white to limit the paint thickness. Dave
-
Thanks, Woody. Actually, none of the above. My brain was spinning and that idea came out, not really sure why. 🤪
-
Yup, I came to the same conclusion. For whatever reason I had the thought that it might help the edges not tearing. 🙄 The markings were first and it occurred to me that I would have to clear the markings after removing the masks if I cleared first. I had to do some touch-up on the underside color, so perhaps the masks will come off tomorrow. Thanks!
